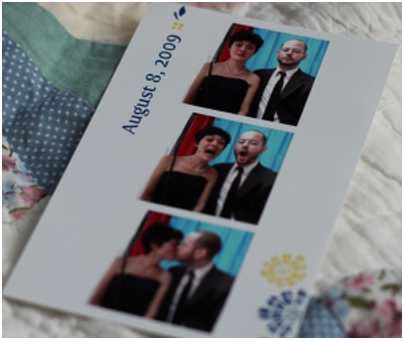
One of my favorite DIY inspirations that keeps popping up at backyard weddings is the homemade photo booth. Remember being a kid at the arcade and cramming into the photo booth with your BFF (or cute boyfriend) and snapping silly/goofy/crazy photos that still make you smile today? Professional photo booths are all the rage at today’s weddings. But at $1,000 and up for the rental, it’s a bit too pricy for many couples. Keep it simple (and economical) by creating your own backdrop for photos and assigning a friend the (fun) job of snapping guests’ photos. Read on for more tips and how-tos when creating this easy DIY project.
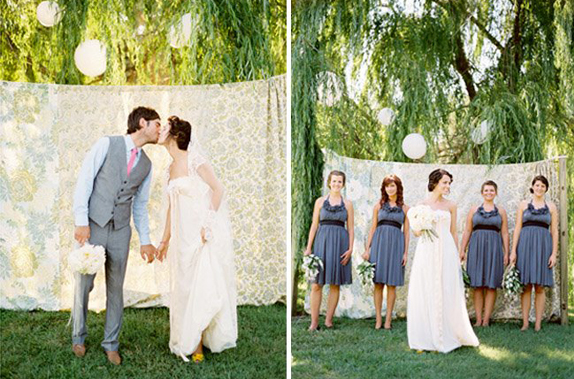
Choose a location: First, decide where you will set up your photo booth. Make sure to choose a spot away from the crowd – you don’t want your photo booth distracting guests from your first dance or cake cutting. An out of the way corner near the guest book is ideal.
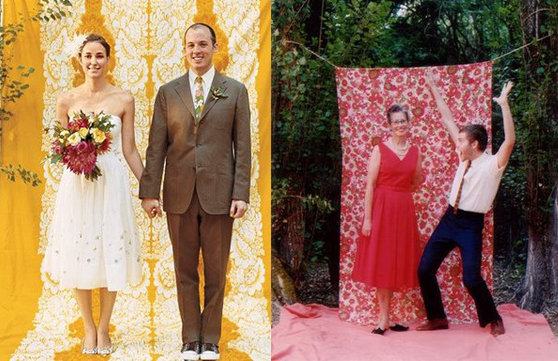
Create a backdrop: Create a stylish backdrop for your guests to pose in front of by purchasing fabric in bulk (3-4 yards should be plenty). Upholstery fabric works best because of it’s weight. Depending on your location (a backyard wedding, for instance) you may be able to simply nail or tape the fabric to a wall or deck. But, if your reception is being held at a rented venue, you may need to construct a simple frame to which you can attach the fabric (check with your local hardware or home improvement store for helpful hints). For a more stylish and cohesive look, coordinate the color and design of the background fabric with your wedding colors.
Set up your camera: Here’s where you have several options – ranging from super simple to more involved. One easy way to take the pictures is to assign a friend/guest as your photo booth photographer. Some guests would relish this assignment – you just need to figure out who they are (maybe a niece or cousin who might be without a date?). Another option is to pay a friend of a friend an appropriate, but budget friendly amount (say $50?) to take on this role. Have your designated photographer use a point and click digital camera to take the photos during the reception. Close down the “booth” the last 45 minutes of the reception so that he/she can print them off on a digital printer (make sure to provide extra ink cartridges for printing). Want to make it even easier? How about breaking out the instant camera? Did you know there’s new generation of Polaroid camera that will be on the market soon? You can pre-order the latest model of this classic camera now. Fuji film currently sells a similar product – the Instax camera – that prints instantaneously. Talk about instant gratification!
If you have more time and energy to devote to the photo booth project, you can achieve a more “professional” result by checking out software programs that allow you to use your webcam to take and load pictures right on your laptop. The photos can be automatically shared on Facebook, Twitter and photo finishing sites such as Snapfish. Another bonus of these programs is that they run automatically, leaving your guests unattended (and uninhibited) for more candid photos. Visit the website sevenEightcline for one such software program and helpful hints on setting up your photo booth.
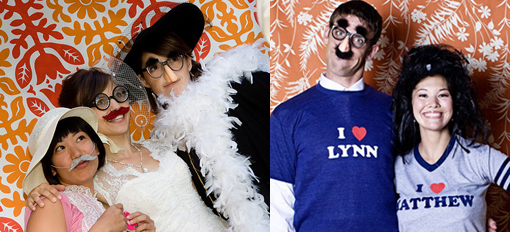
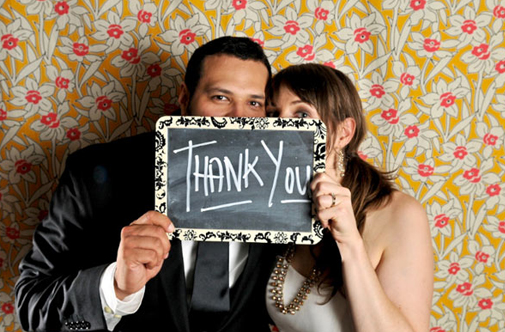
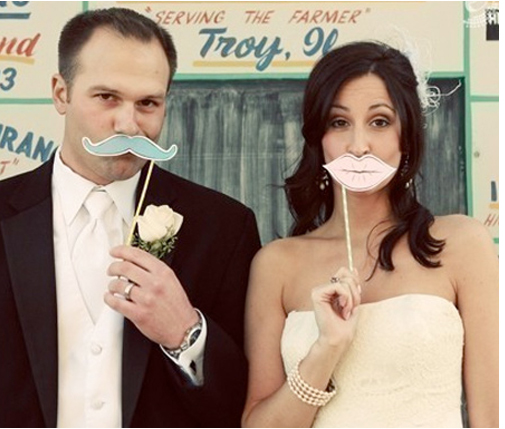
Accessories: For a fun and lighthearted twist on the photo booth idea, purchase silly props at a local novelty store and watch your guests ham it up! Suggestions include: plastic glasses, fake mustaches, feather boas and silly hats. Provide guests with a small dry erase board or chalkboard so that they can include a message.
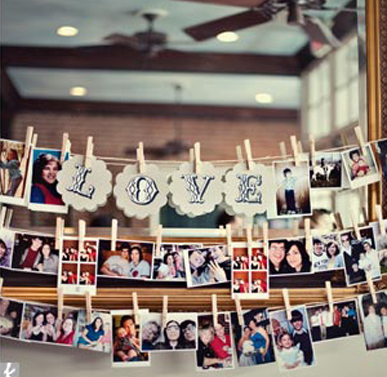
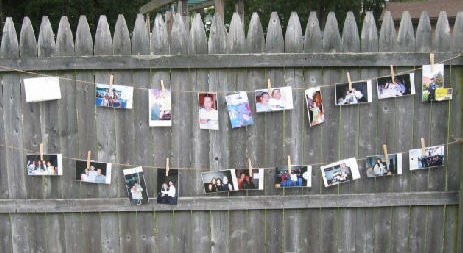
Sharing: Last, but not least, share all your fun and funny photos with friends and guests. Here’s one creative idea that I love: the clothesline photo display. It’s pretty much self-explanitory — just string clothesline (a fence or decking works great) and attach photos with small clothespins. It’s perfect for a backyard wedding! Try to set up your display near the exit, so that guests can take their photos with them when they leave (remember, unless you choose the “Polaroid” option, you will have all the pictures saved on your camera or computer). Don’t have a good place to string clothesline? Set up a display table (or use the guestbook table) with a large framed cork board to show off photos.
There’s nothing more treasured than memories from your special day. The DIY photo booth helps you capture those memories in a relaxed, fun and economical way. I’m willing to bet that the photo booth will be a hit at your wedding and these will be the photos that make you smile for years to come!


