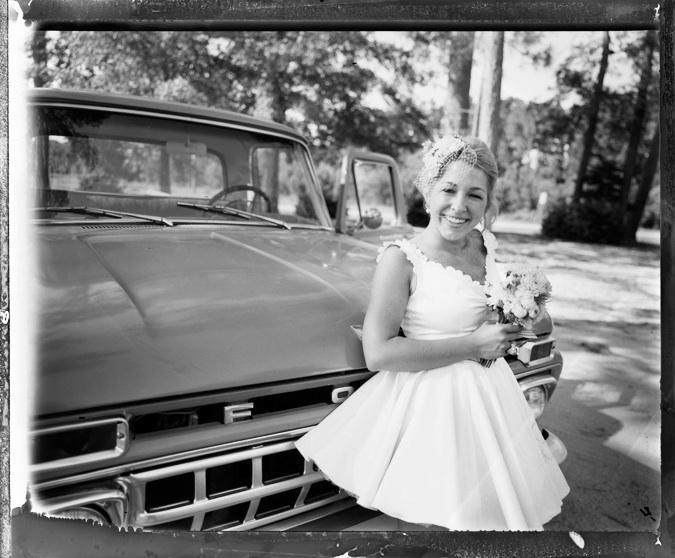
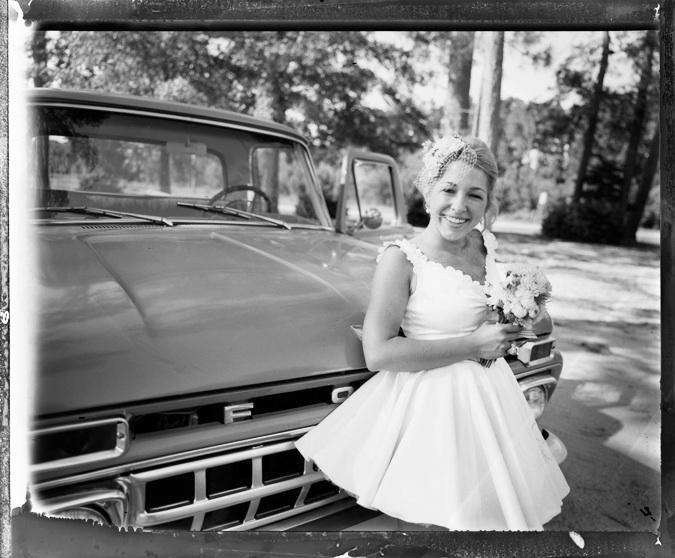
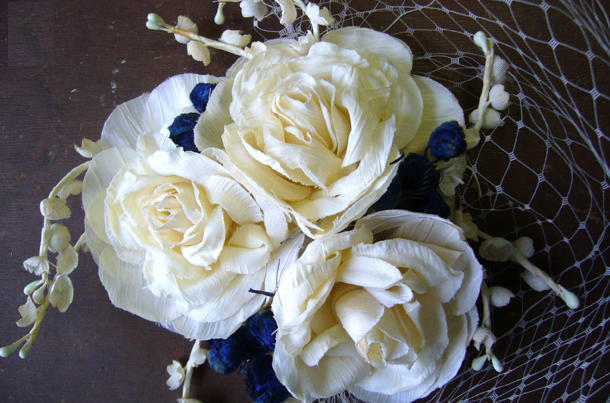
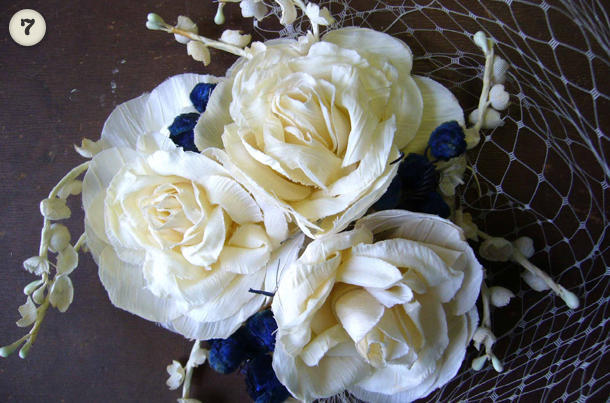
Making a veil at home can be just as simple as hunting for one. This birdcage veil was custom made for the bride above, Halligan Norris Smith. The assemblage process took only a couple of hours and shopping for the materials was even less time. The best part is that you have the custom veil you wanted, for much less money.
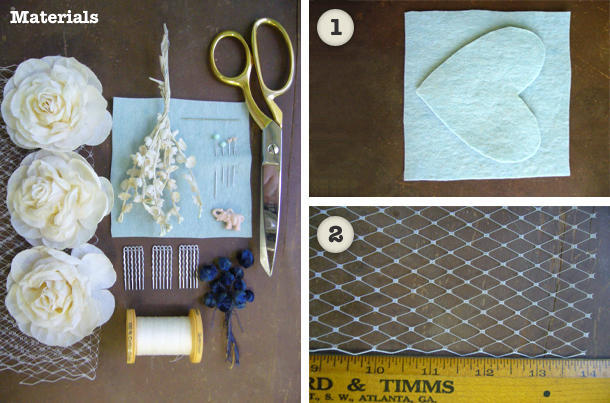
Materials & Tools
-4×4 Square of felt
-1/2 yd of 9 or 8” wide Russian veiling
-Hat combs (optional, bobby pins may substitute)
-Fabric glue
-Good luck charm
-3 silk or fabric flowers, source: craft store, tinseltrading.com
-8 filler flowers, millinery or small silk flowers work well
-Needle & thread
-Scissors
-Straight pins
-Ruler/ measuring tape
Instructions
Step 1-Cut heart from felt using template or freehand
Step 2-Cut veiling to 14” piece, if you want a fuller veil add an inch or two, demonstrate fullness by gathering the fabric in one hand. When cutting, be sure to cut just below the “knots”
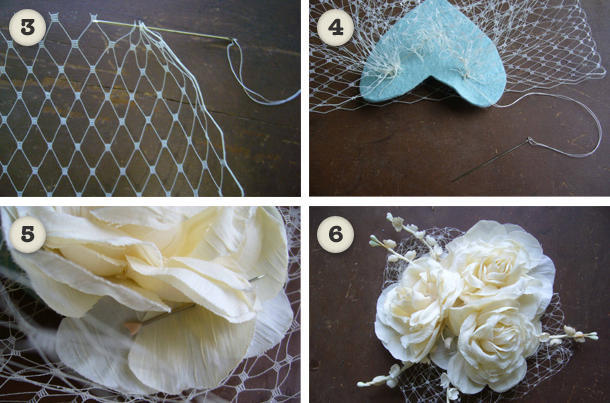
Step 3-With needle and thread make a continuous running stitch starting with a cut edge, then work needle along one finished edge and thru the other cut edge. Leaving opposite finished edge open. Be sure to catch each stitch through the “knots” of the veiling.
Step 4- Gather to fit on felt heart, then tack down by stitching with needle and thread. At this point play with veiling and placement using a model head or in the mirror. If using combs, attach now to opposite side of heart that veil is attached to.
Steps 5 & 6-Pin flowers to heart, on top of veiling to figure out best placement, then tack down with needle and thread or glue into place.
Step 7-Once main flowers are set into place add filler flowers, good luck charms or trims to your liking. Set flowers by gluing stem ends and sticking them in-between main flowers. Charms or trims can be added with needle and thread.

