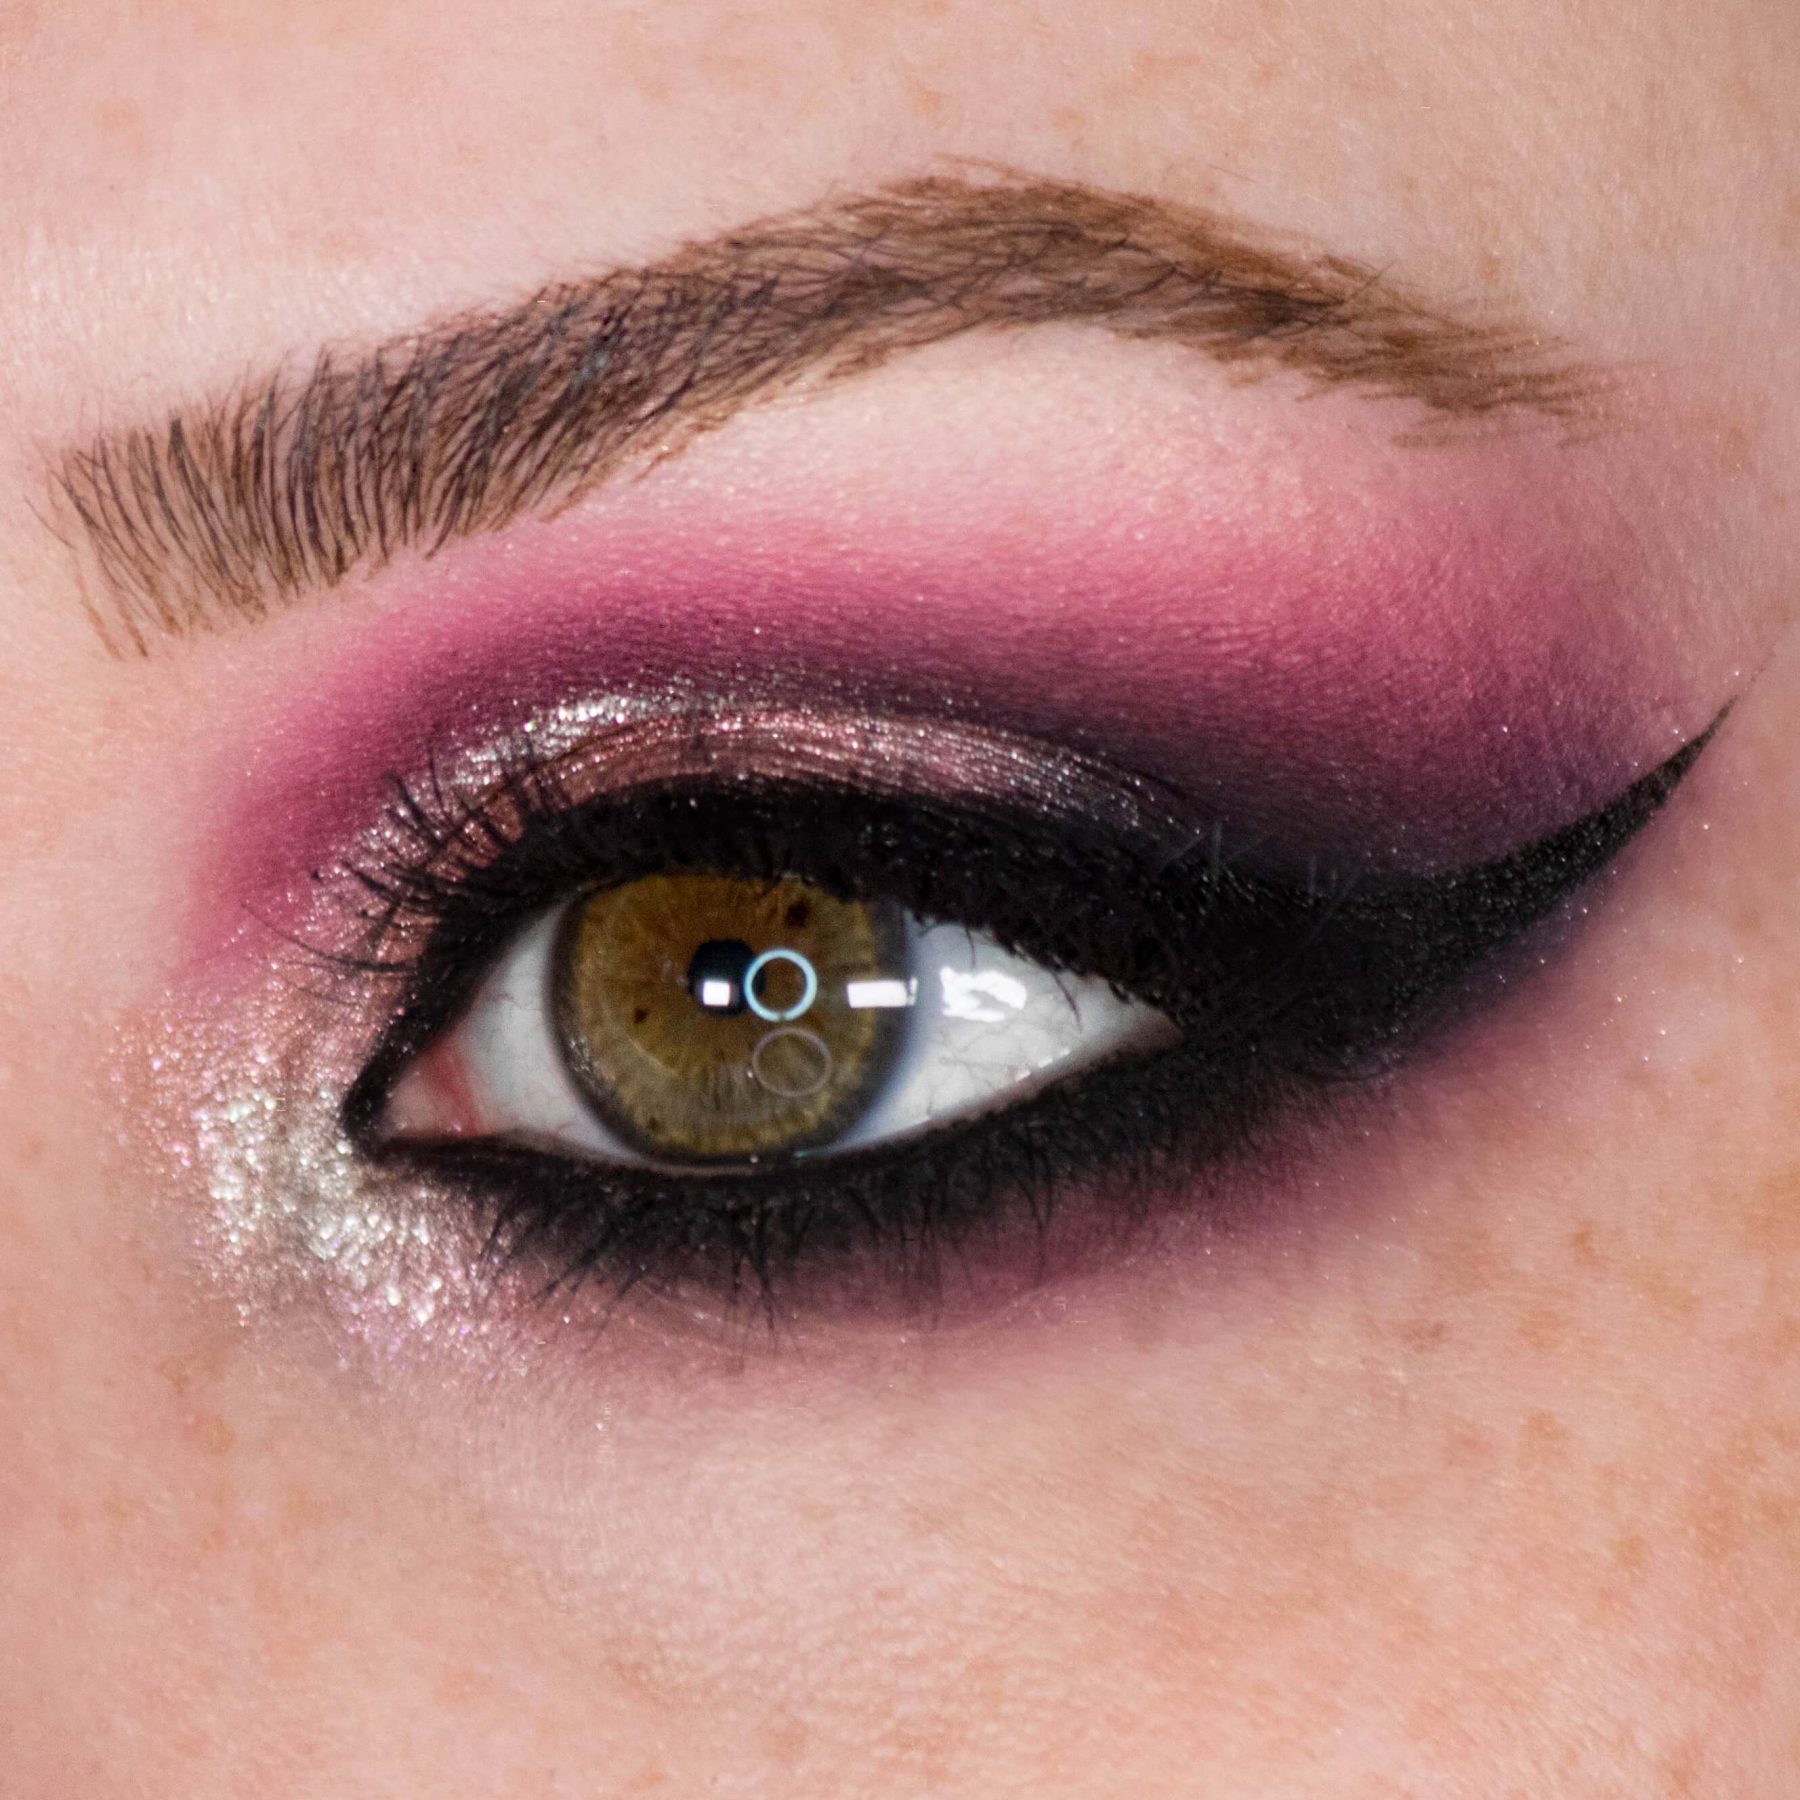
Glitter is making a comeback, and I’m not just talking festival style “glitter dandruff” and body bling. I’m talking taking these gorgeous glam looks to the next level while keeping things classy. So keep on scrolling and get inspired by these eye-catching (and light) looks.
Take Your Wing From Basic to Bangin’
Listen, I’m not saying winged liner is basic. But it does seem to be more common-place today than it was when I rocked it in highschool. A winged liner and a simple shadow is a bridal and special occasion favorite, so why not spice it up with a bit of sparkle.
Step 1
Do a light shadow and apply your winged liner.
Refrain from doing concealer and foundation until after done with your glitter application… unless you want it all over your face for the rest of the night.
Step 2
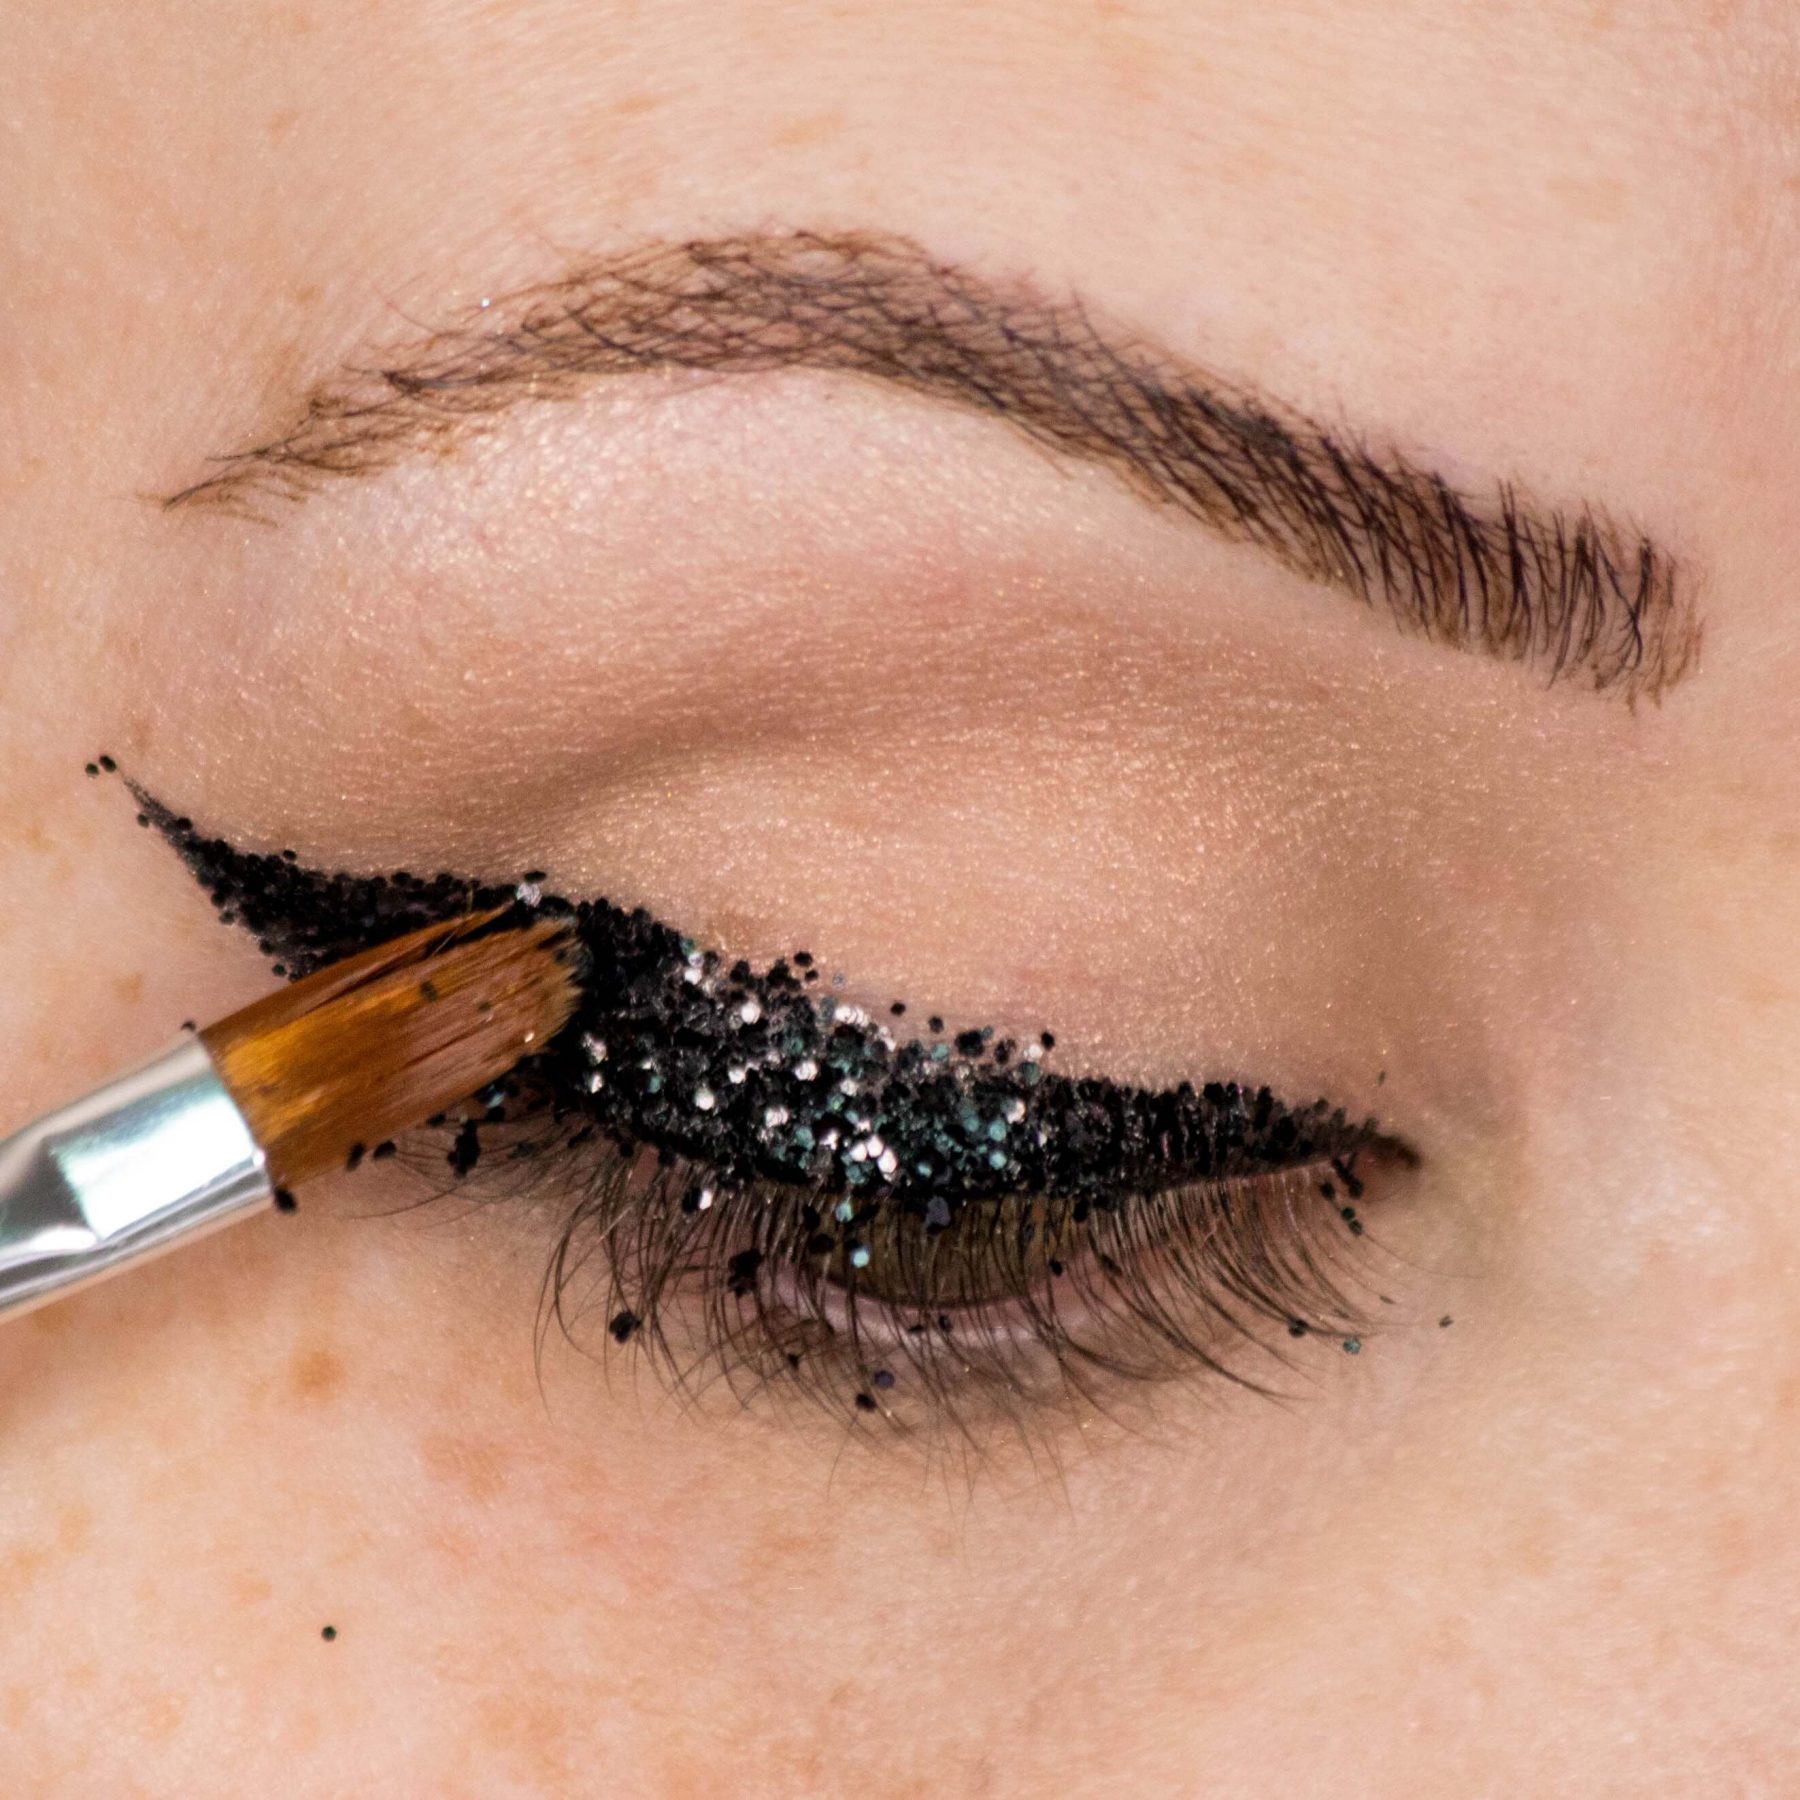
Taking a small flat brush dip into the glitter adhesive (I used Lit clearly liquid glitter base) and then dip the brush into the glitter (Lit Back in Black size 4).
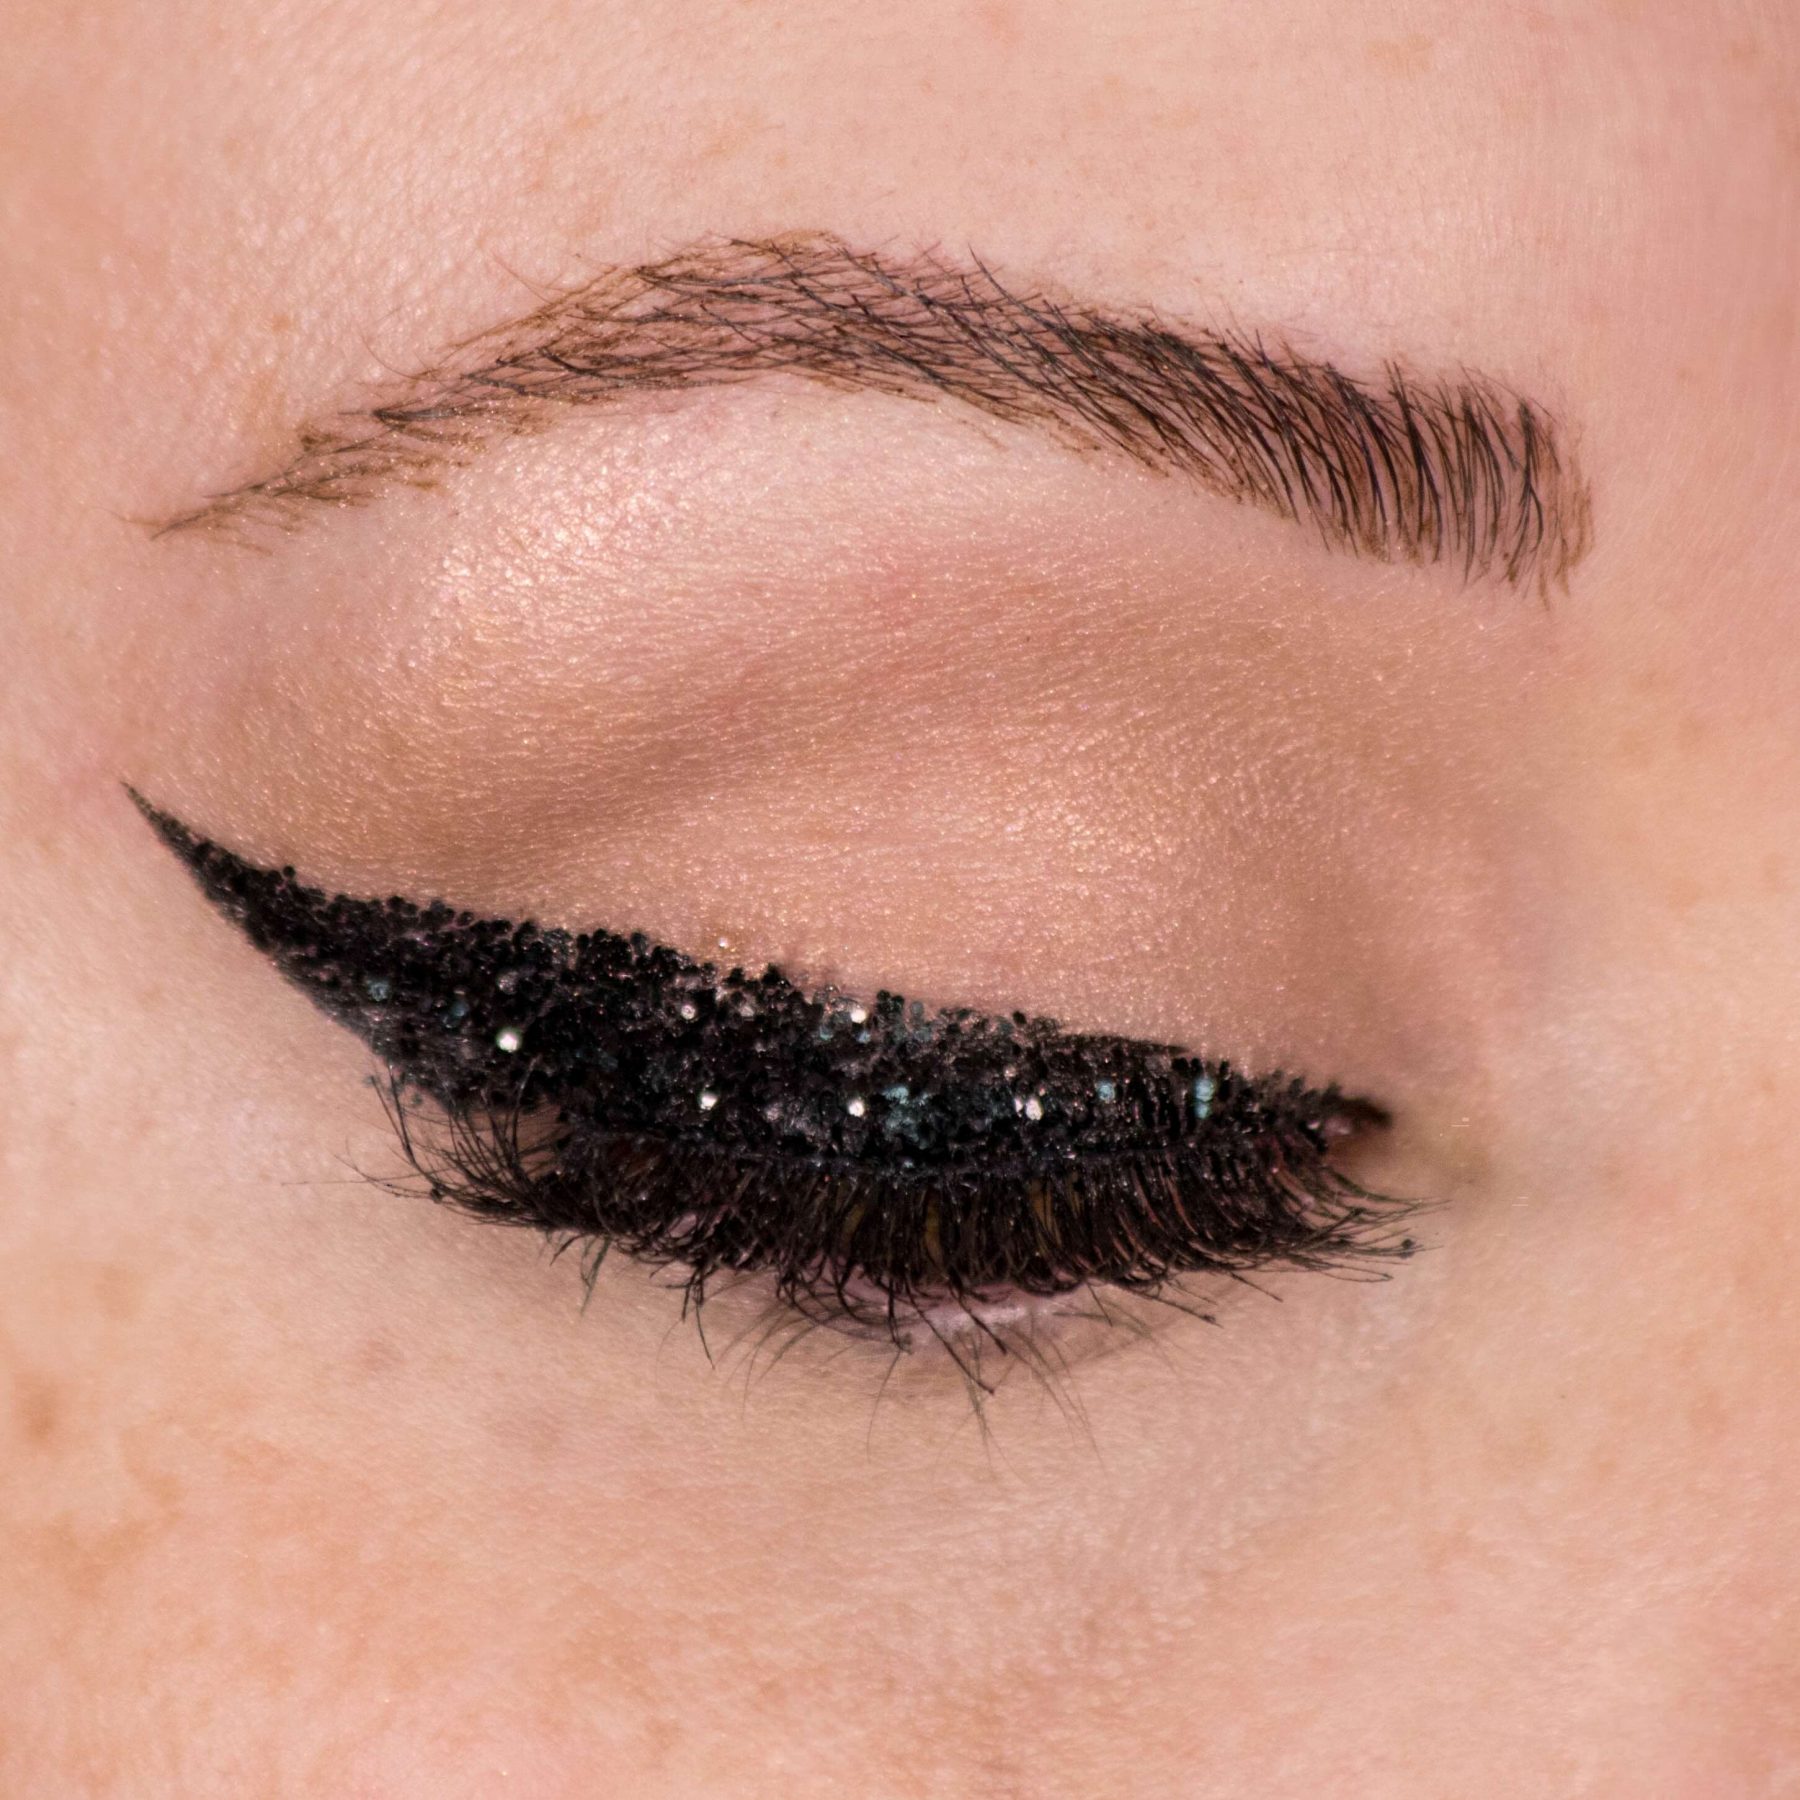
Apply by starting at the thickest point in the liner to start. Apply an even coat over the entire wing.
Step 3
Using some scotch tape to remove the excess glitter from cheeks and face. Apply lashes and face makeup and voila! An elevated, but still classy winged liner.
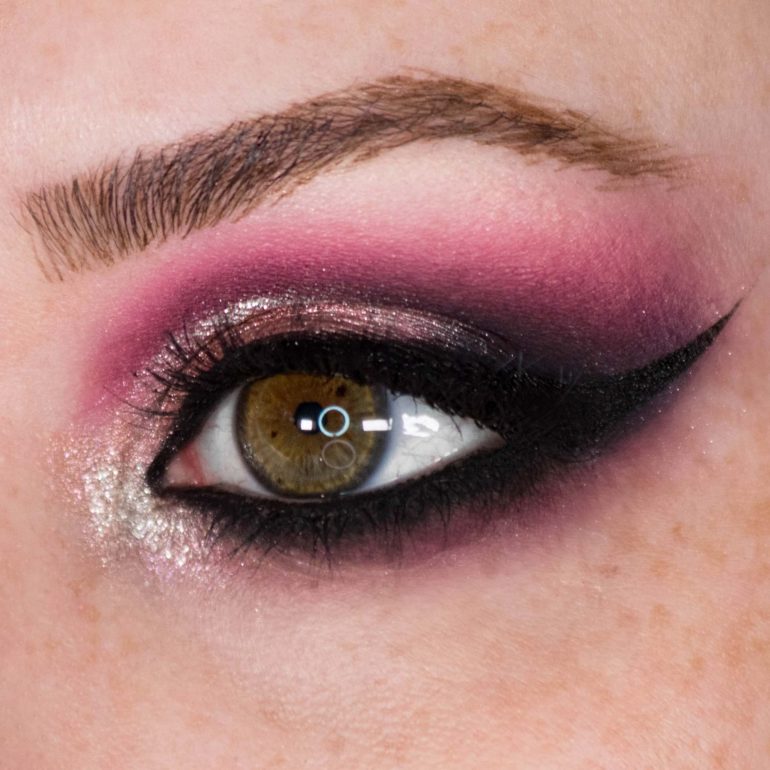
Add Light to a Dark, Dramatic Smokey Eye
Step 1
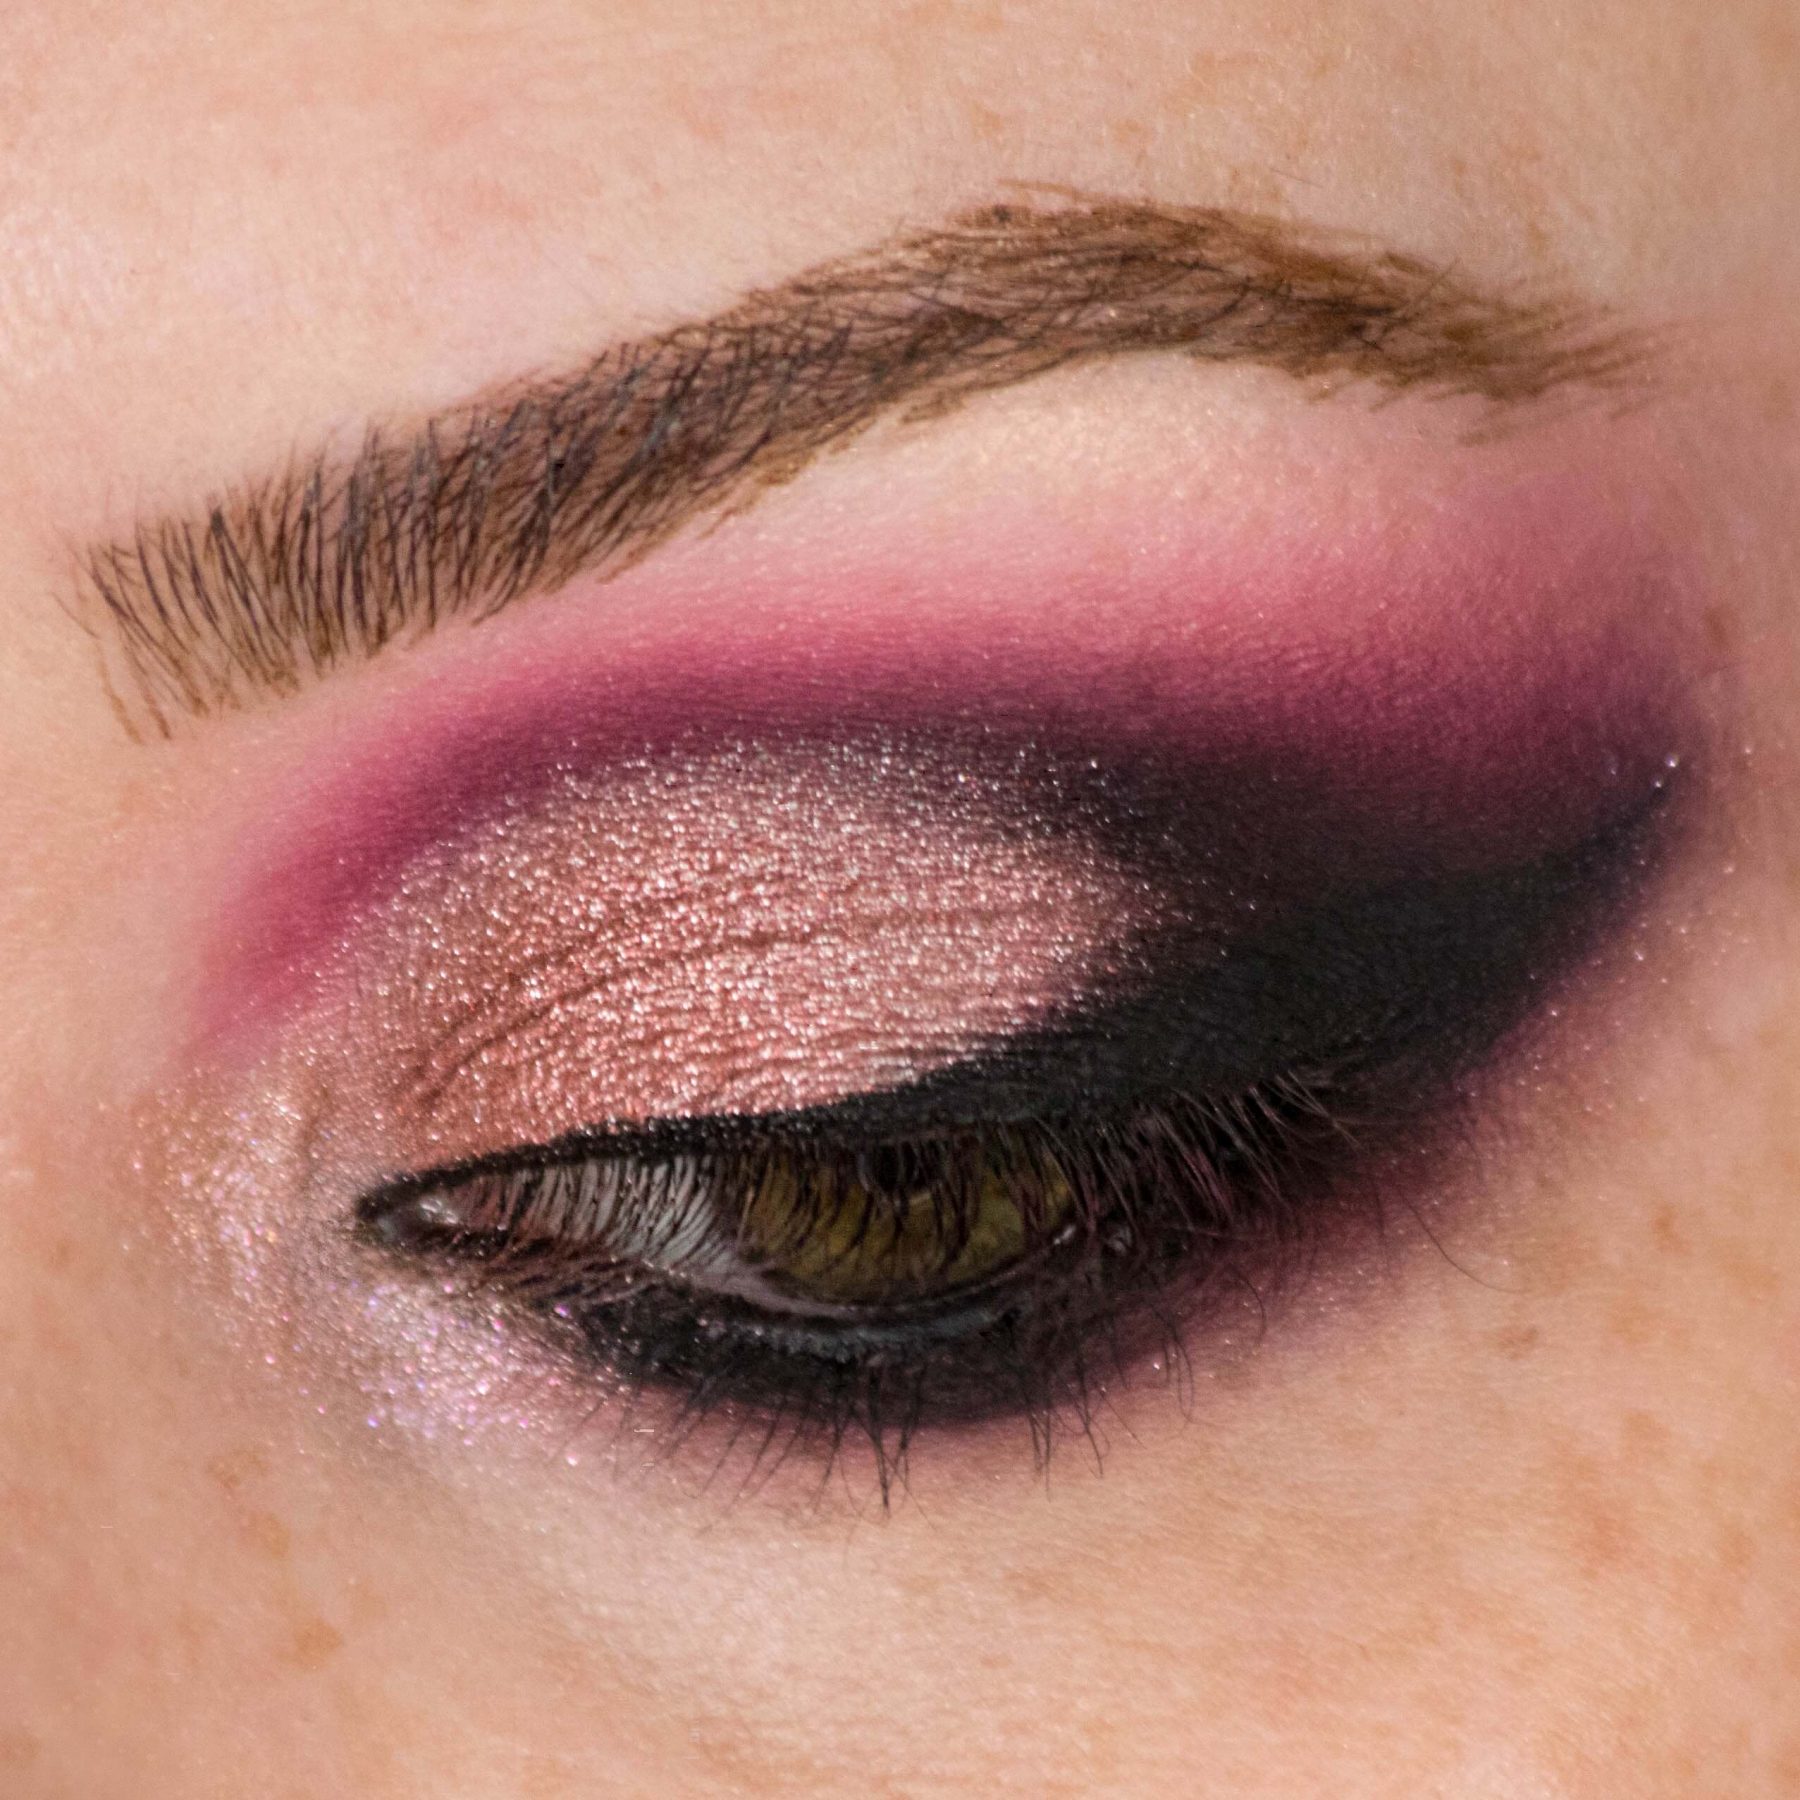
Start with your smokey eye and no complexion makeup.
Step 2
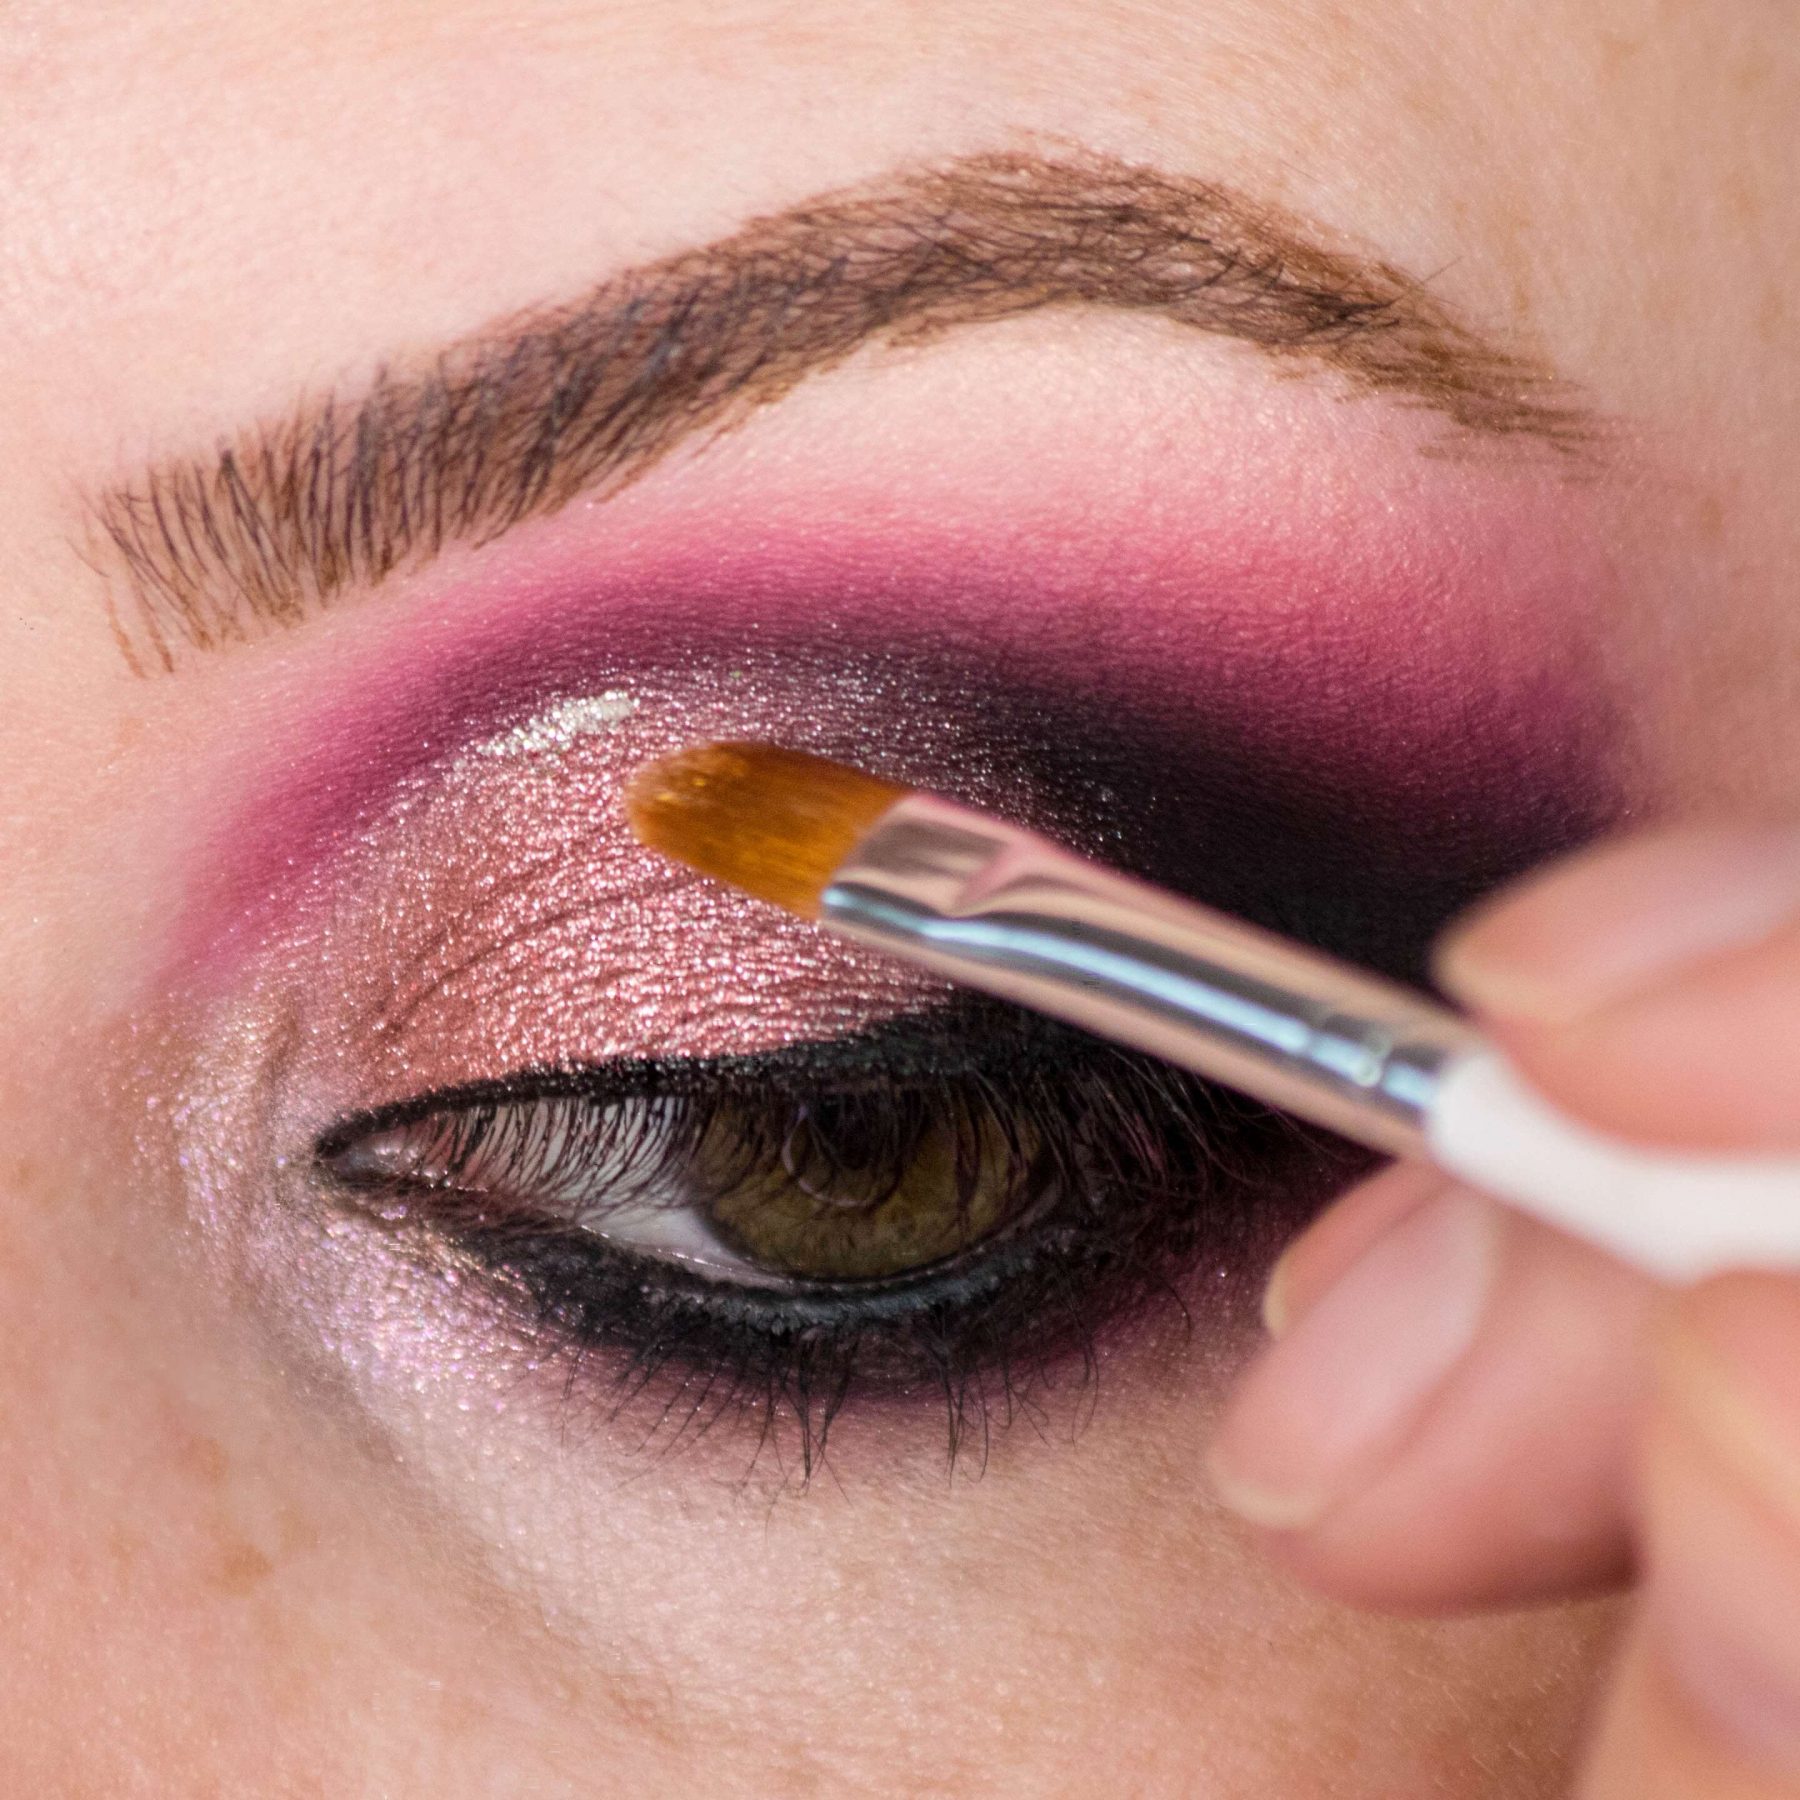
Dip a small flat brush into your glitter base (I used Lit Clearly Liquid Glitter Base and Porcelain Size 2) and then dip your brush into the glitter.
Wipe off the excess product from the bottom side so as not to smudge. Lightly apply a line of glitter tracing the inner crease.
Step 3
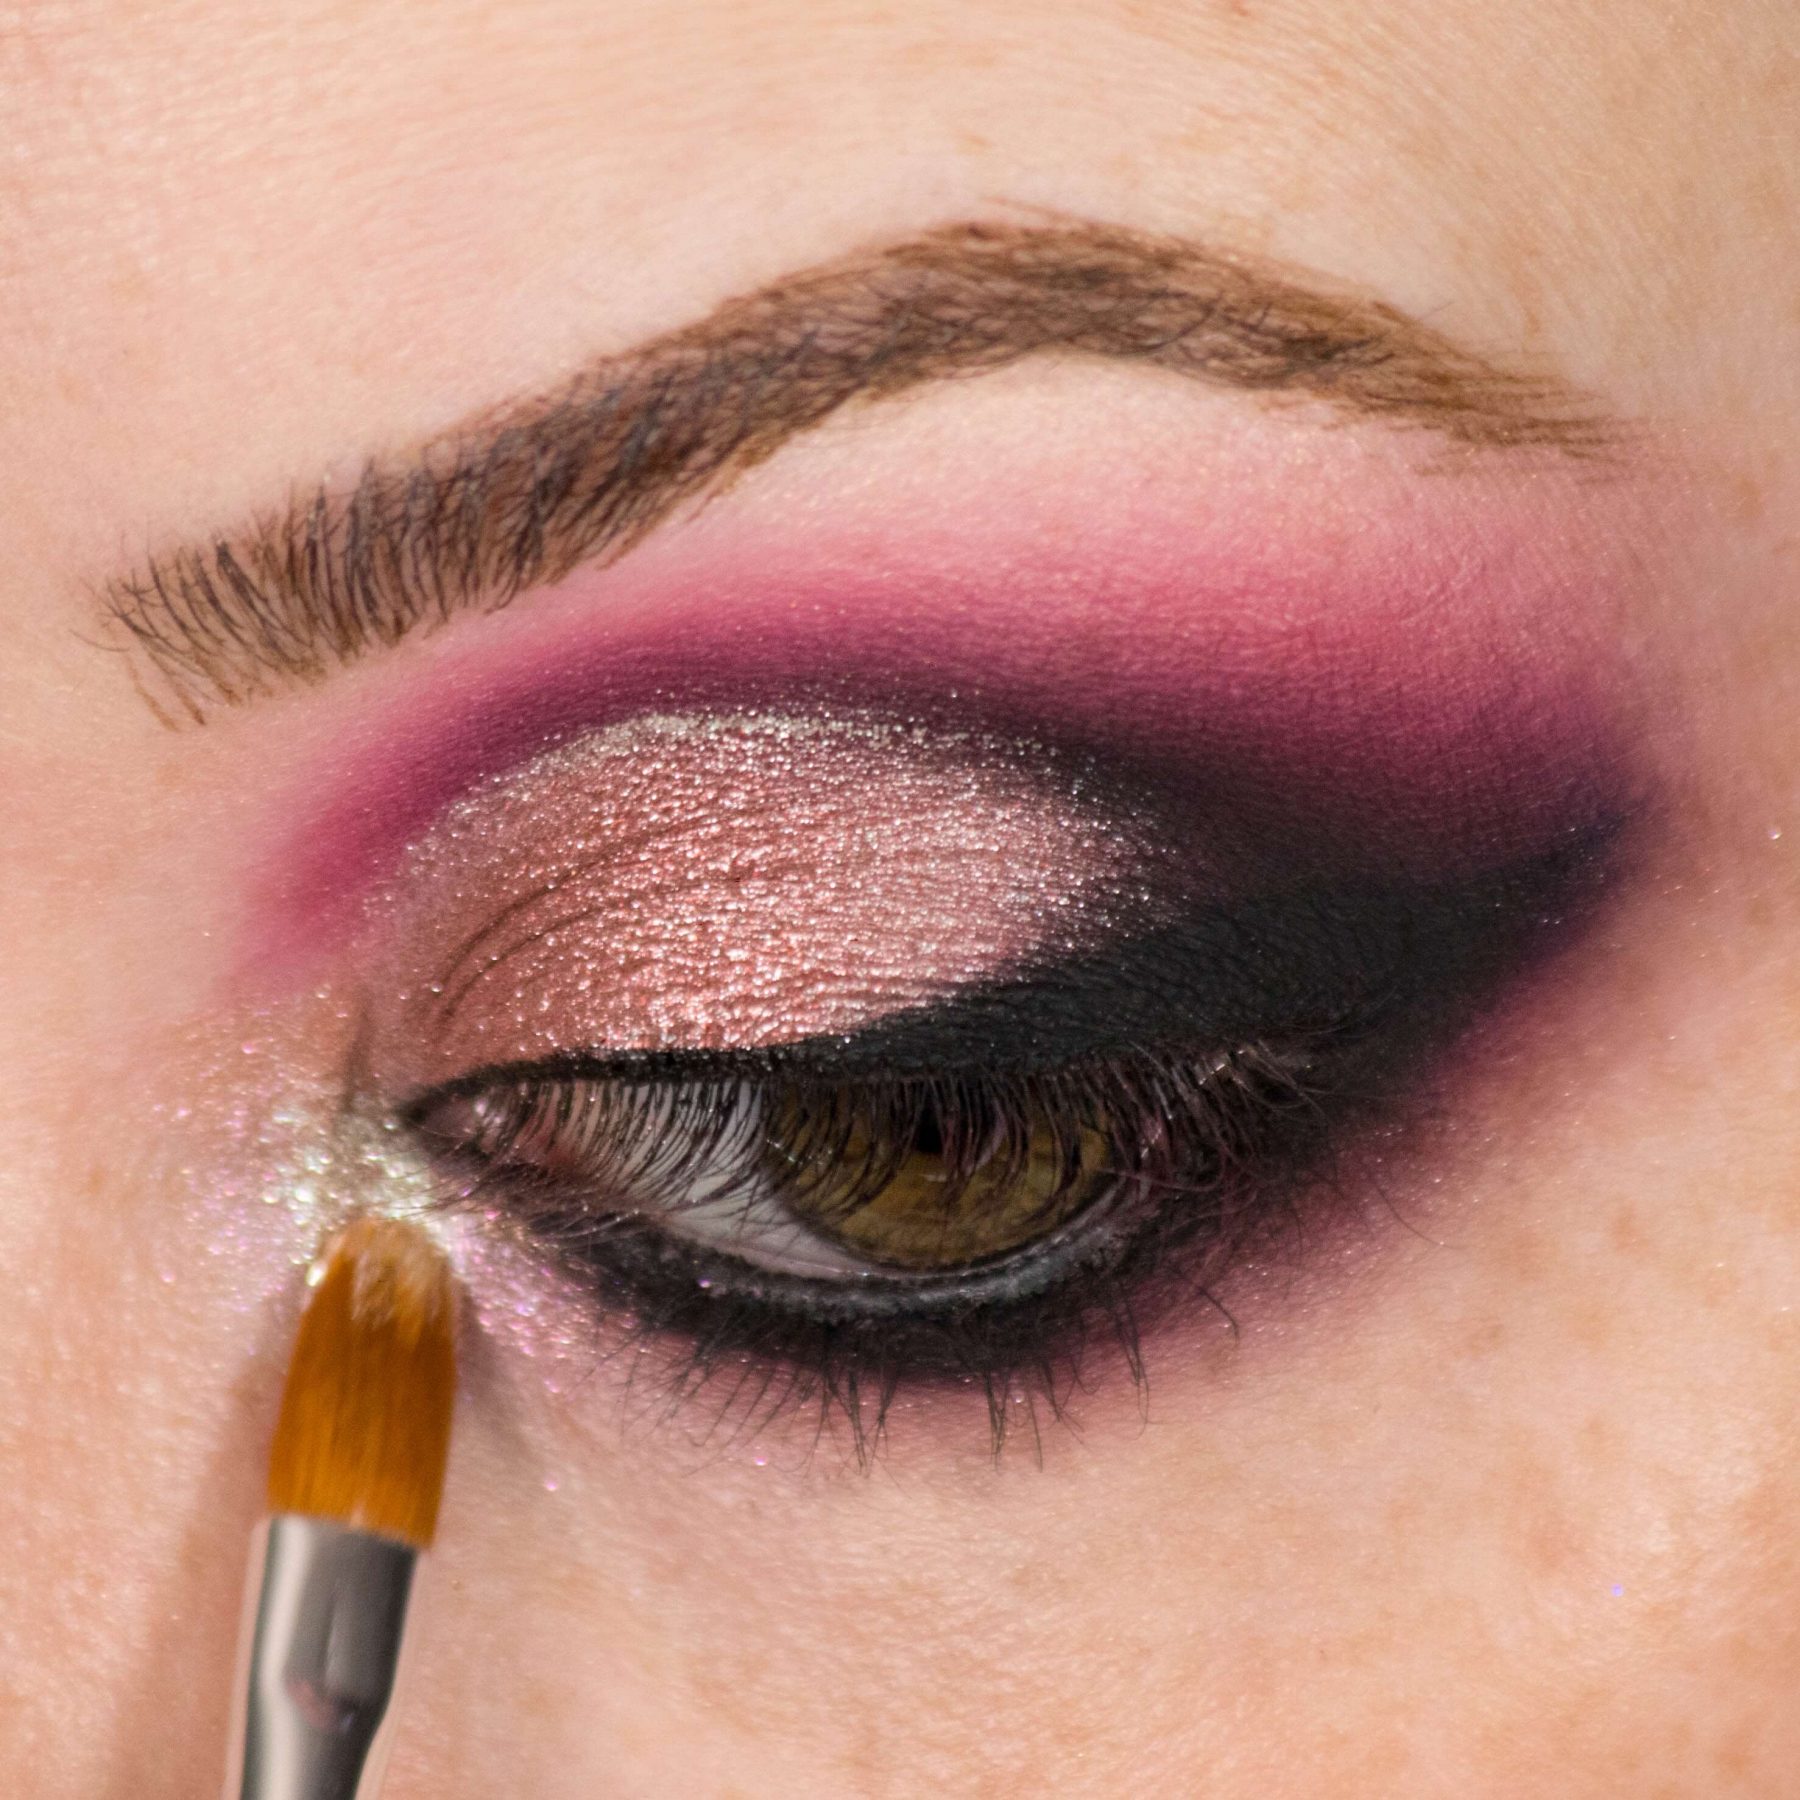
Using the leftover glitter, lightly apply to the inner corner a small amount.
*Try not to squint during the drying process so the glitter doesn’t crumple or crack.
Step 4
Finish with lashes and mascara. Use a little scotch tape to help remove glitter fall out from the skin.
Go Full Tilt – Sparkle Away Sis
Step 1
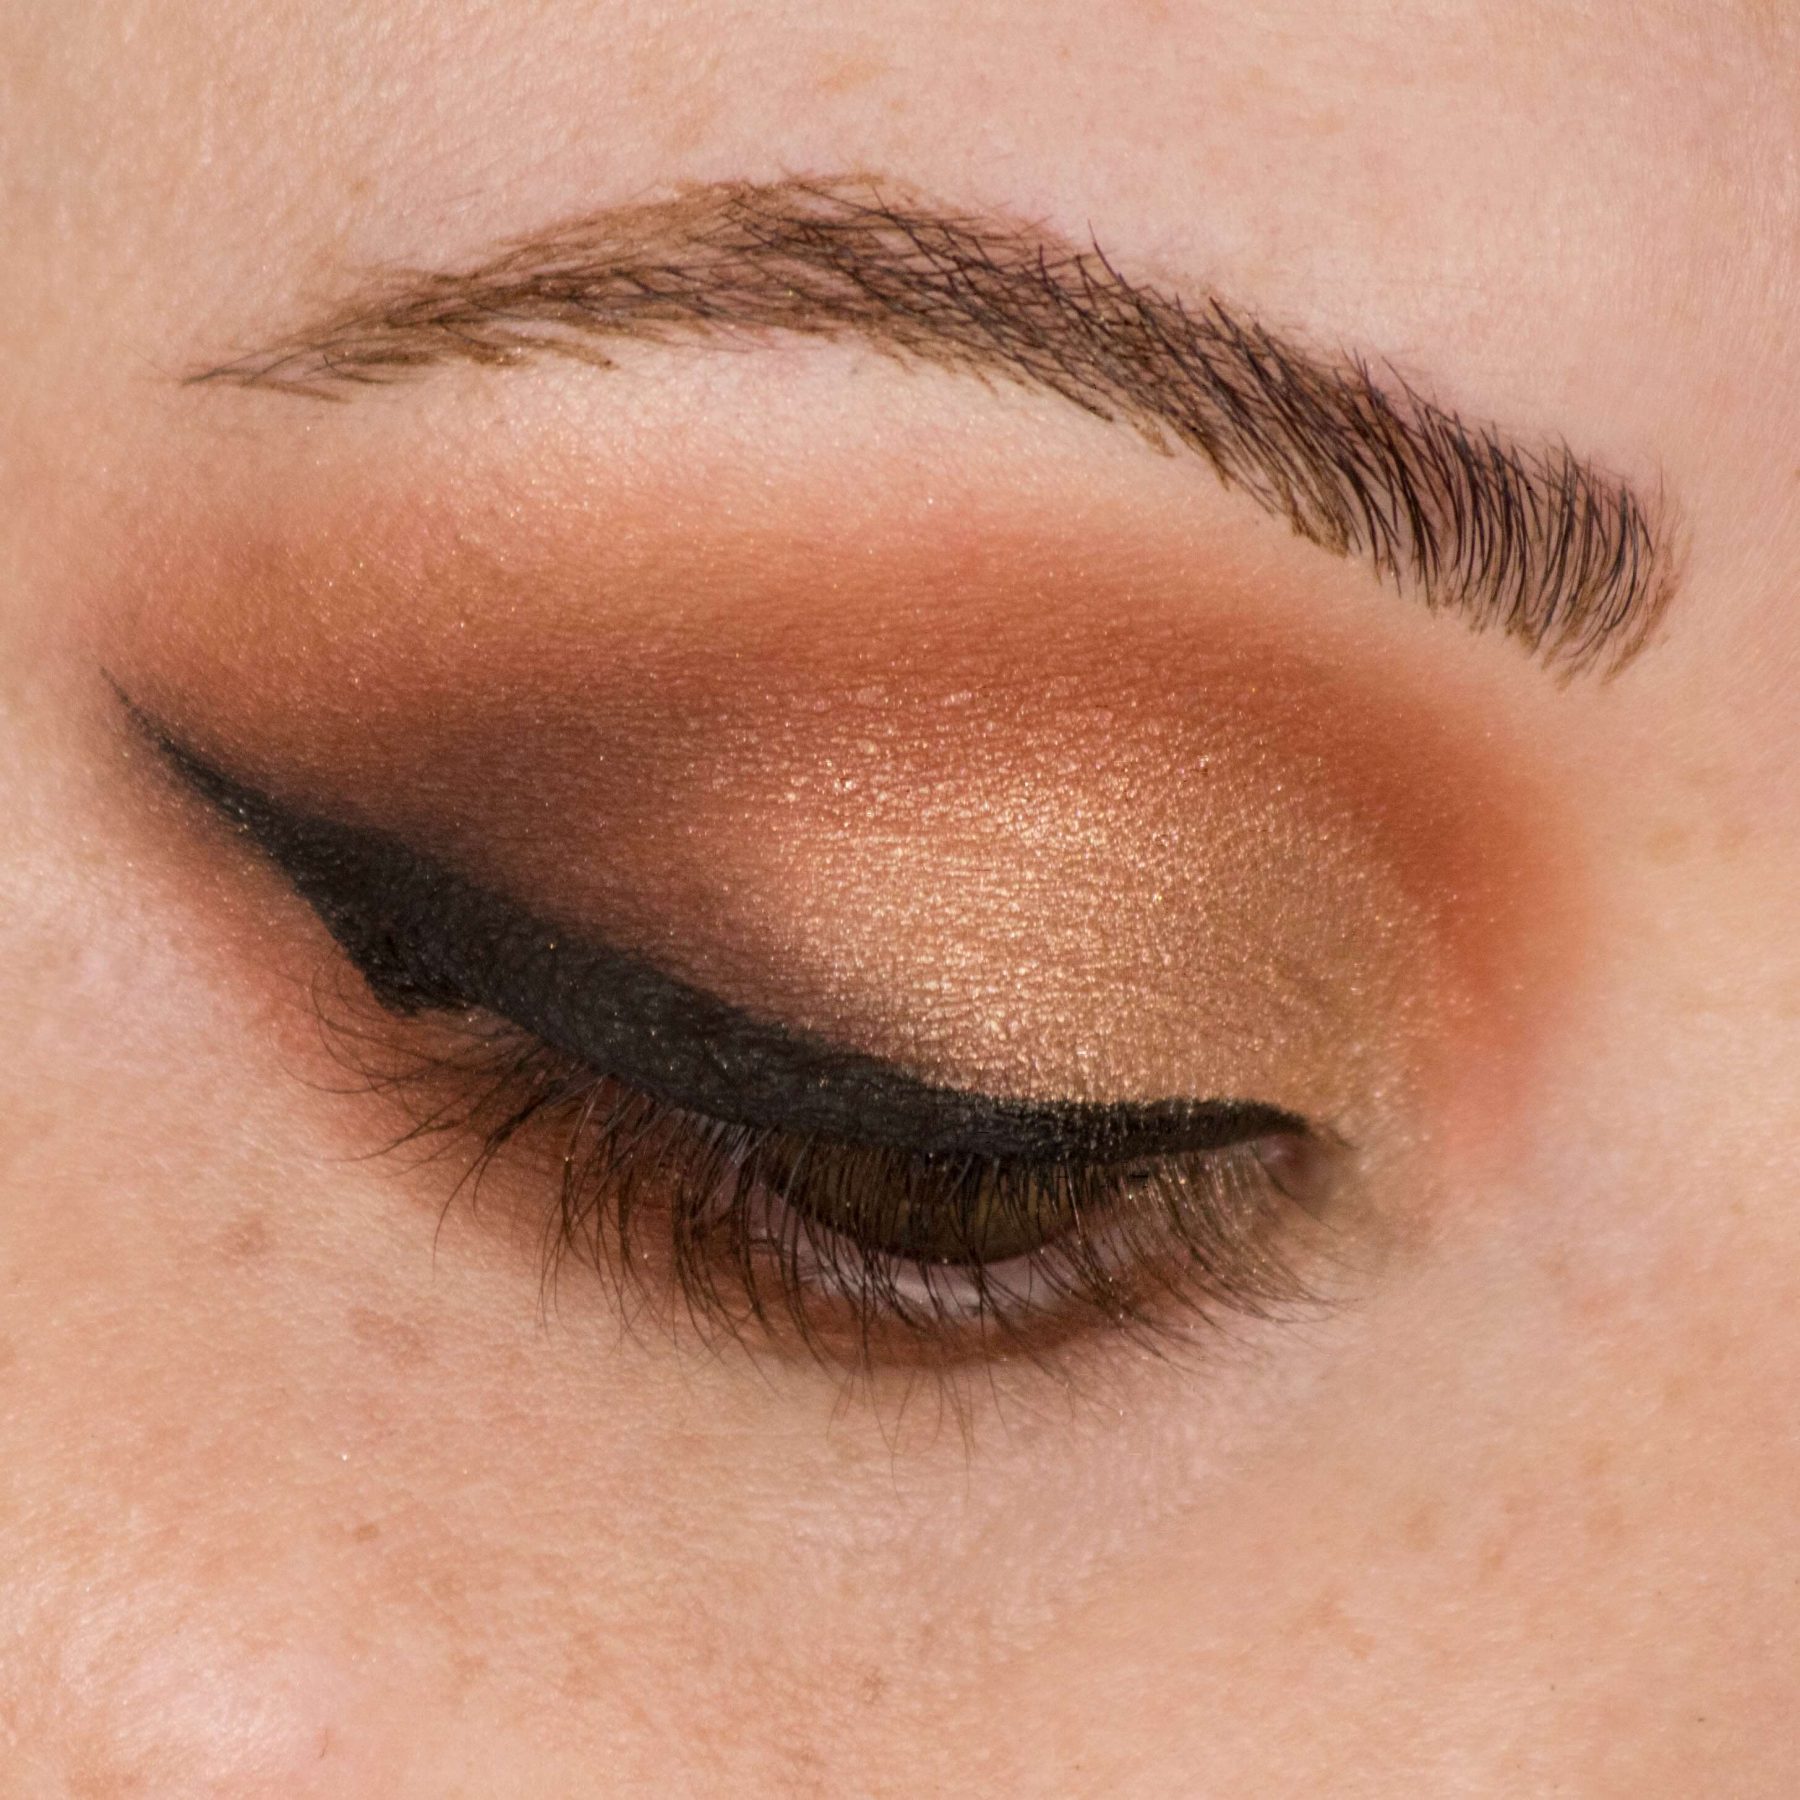
Start out with a soft brown smokey eye and winged liner (optional). Leave the complexion bare until after you finish the glitter application.
Step 2
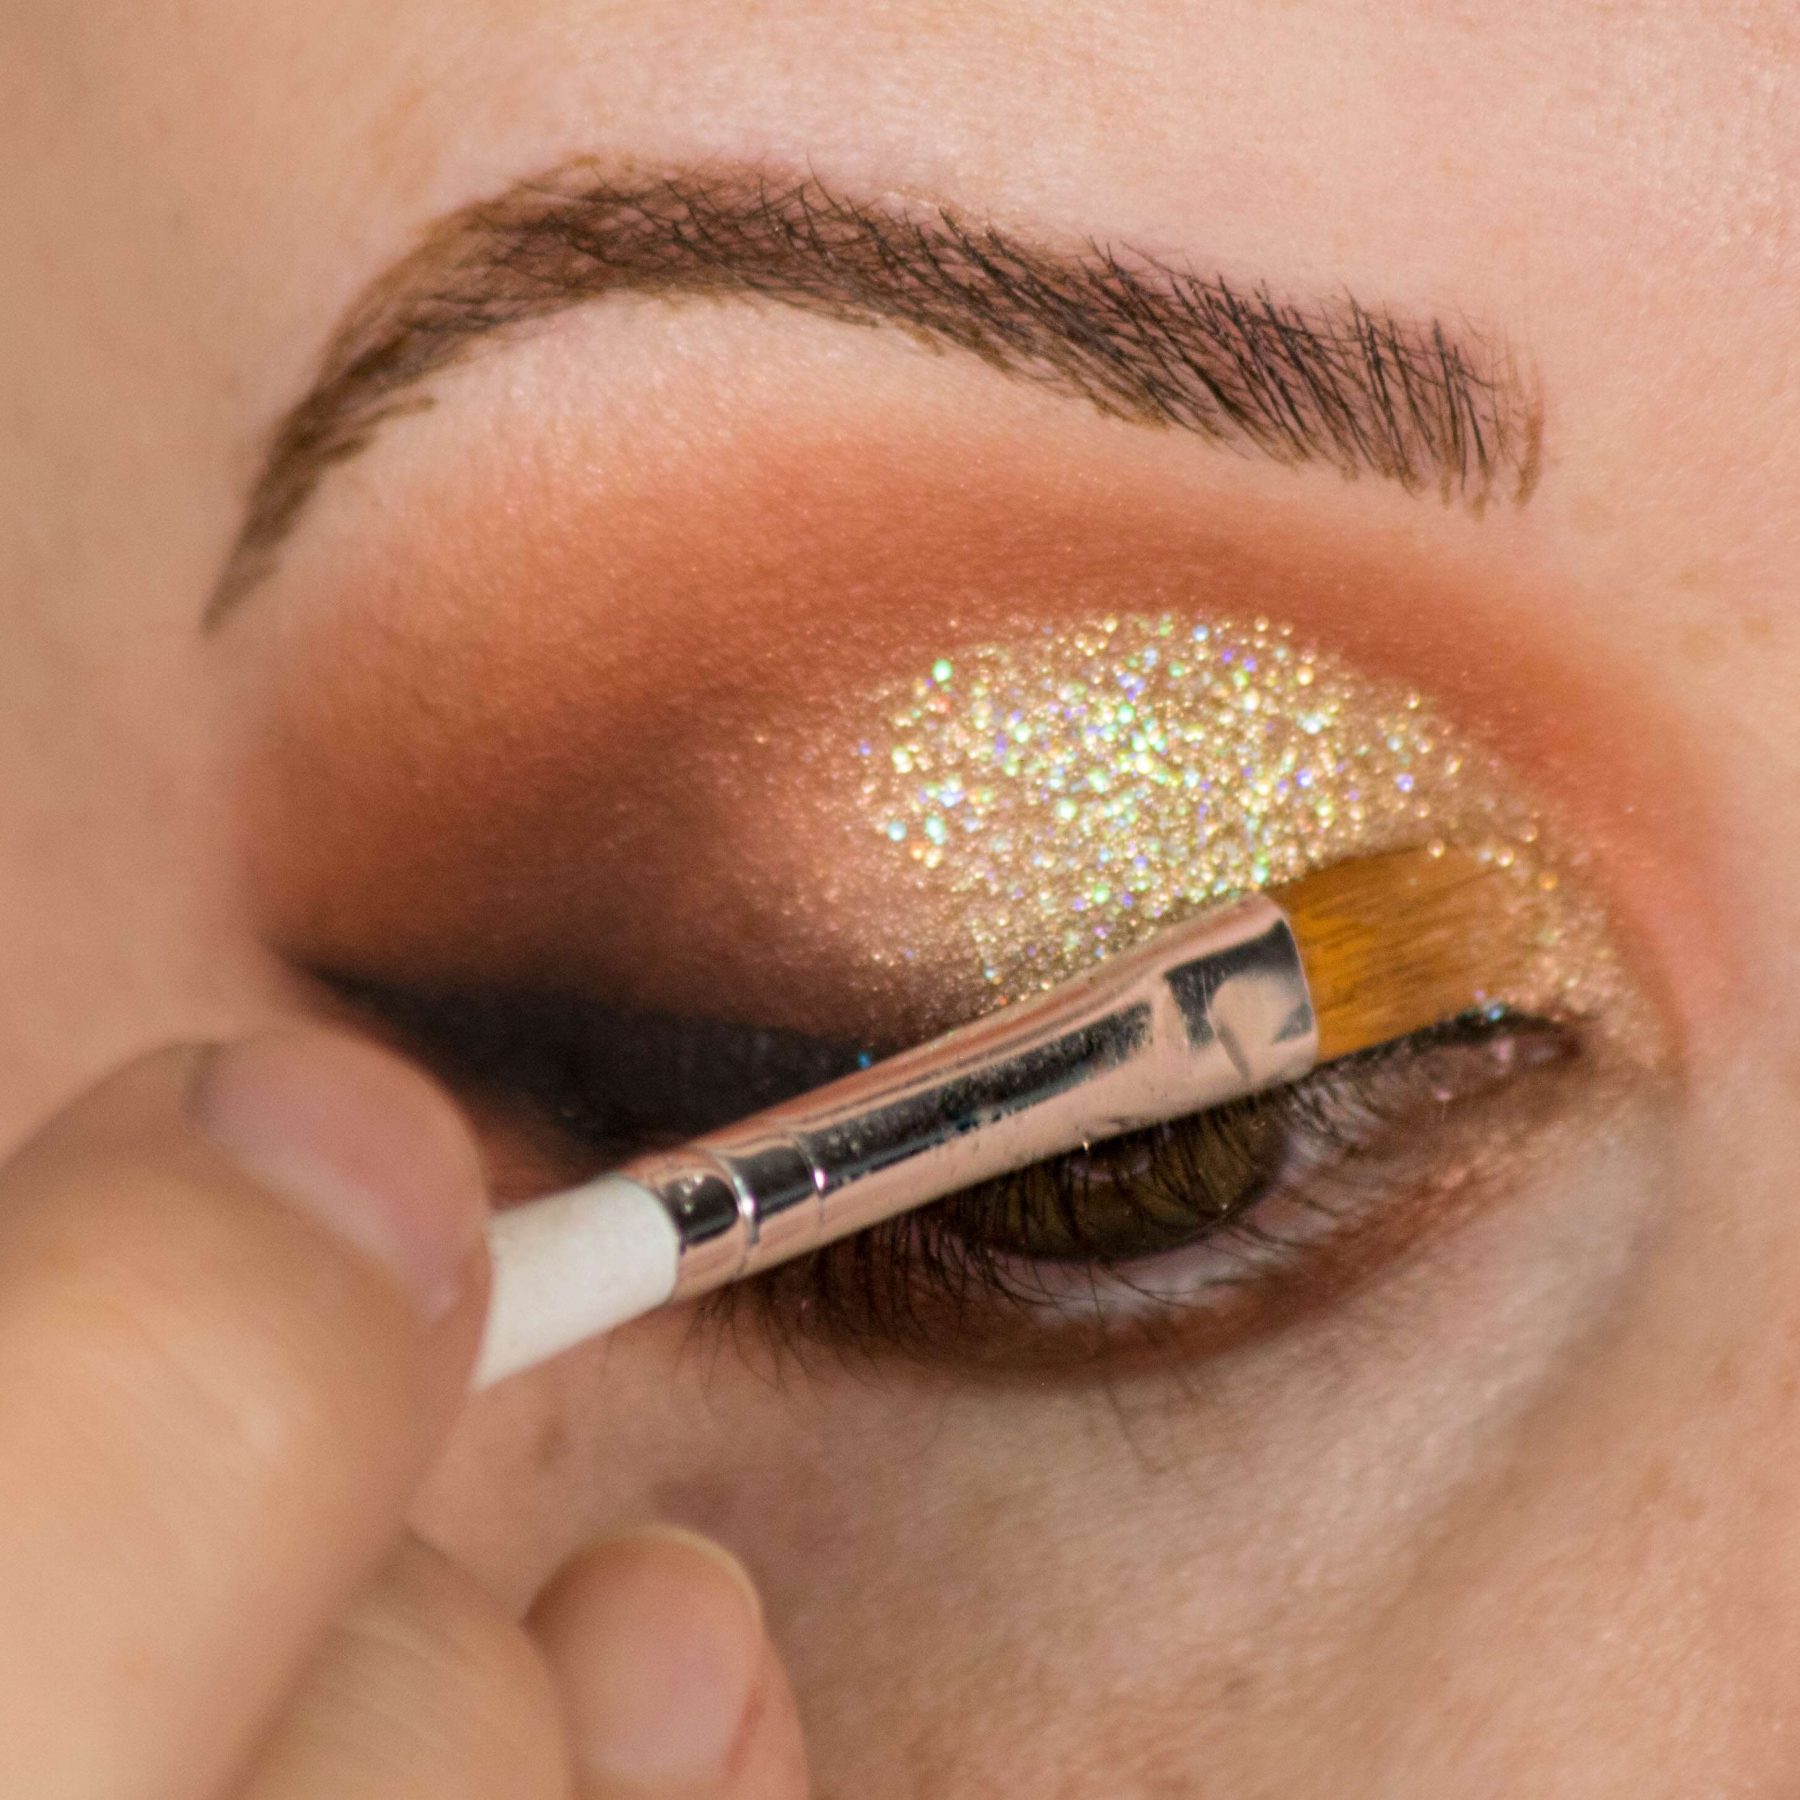
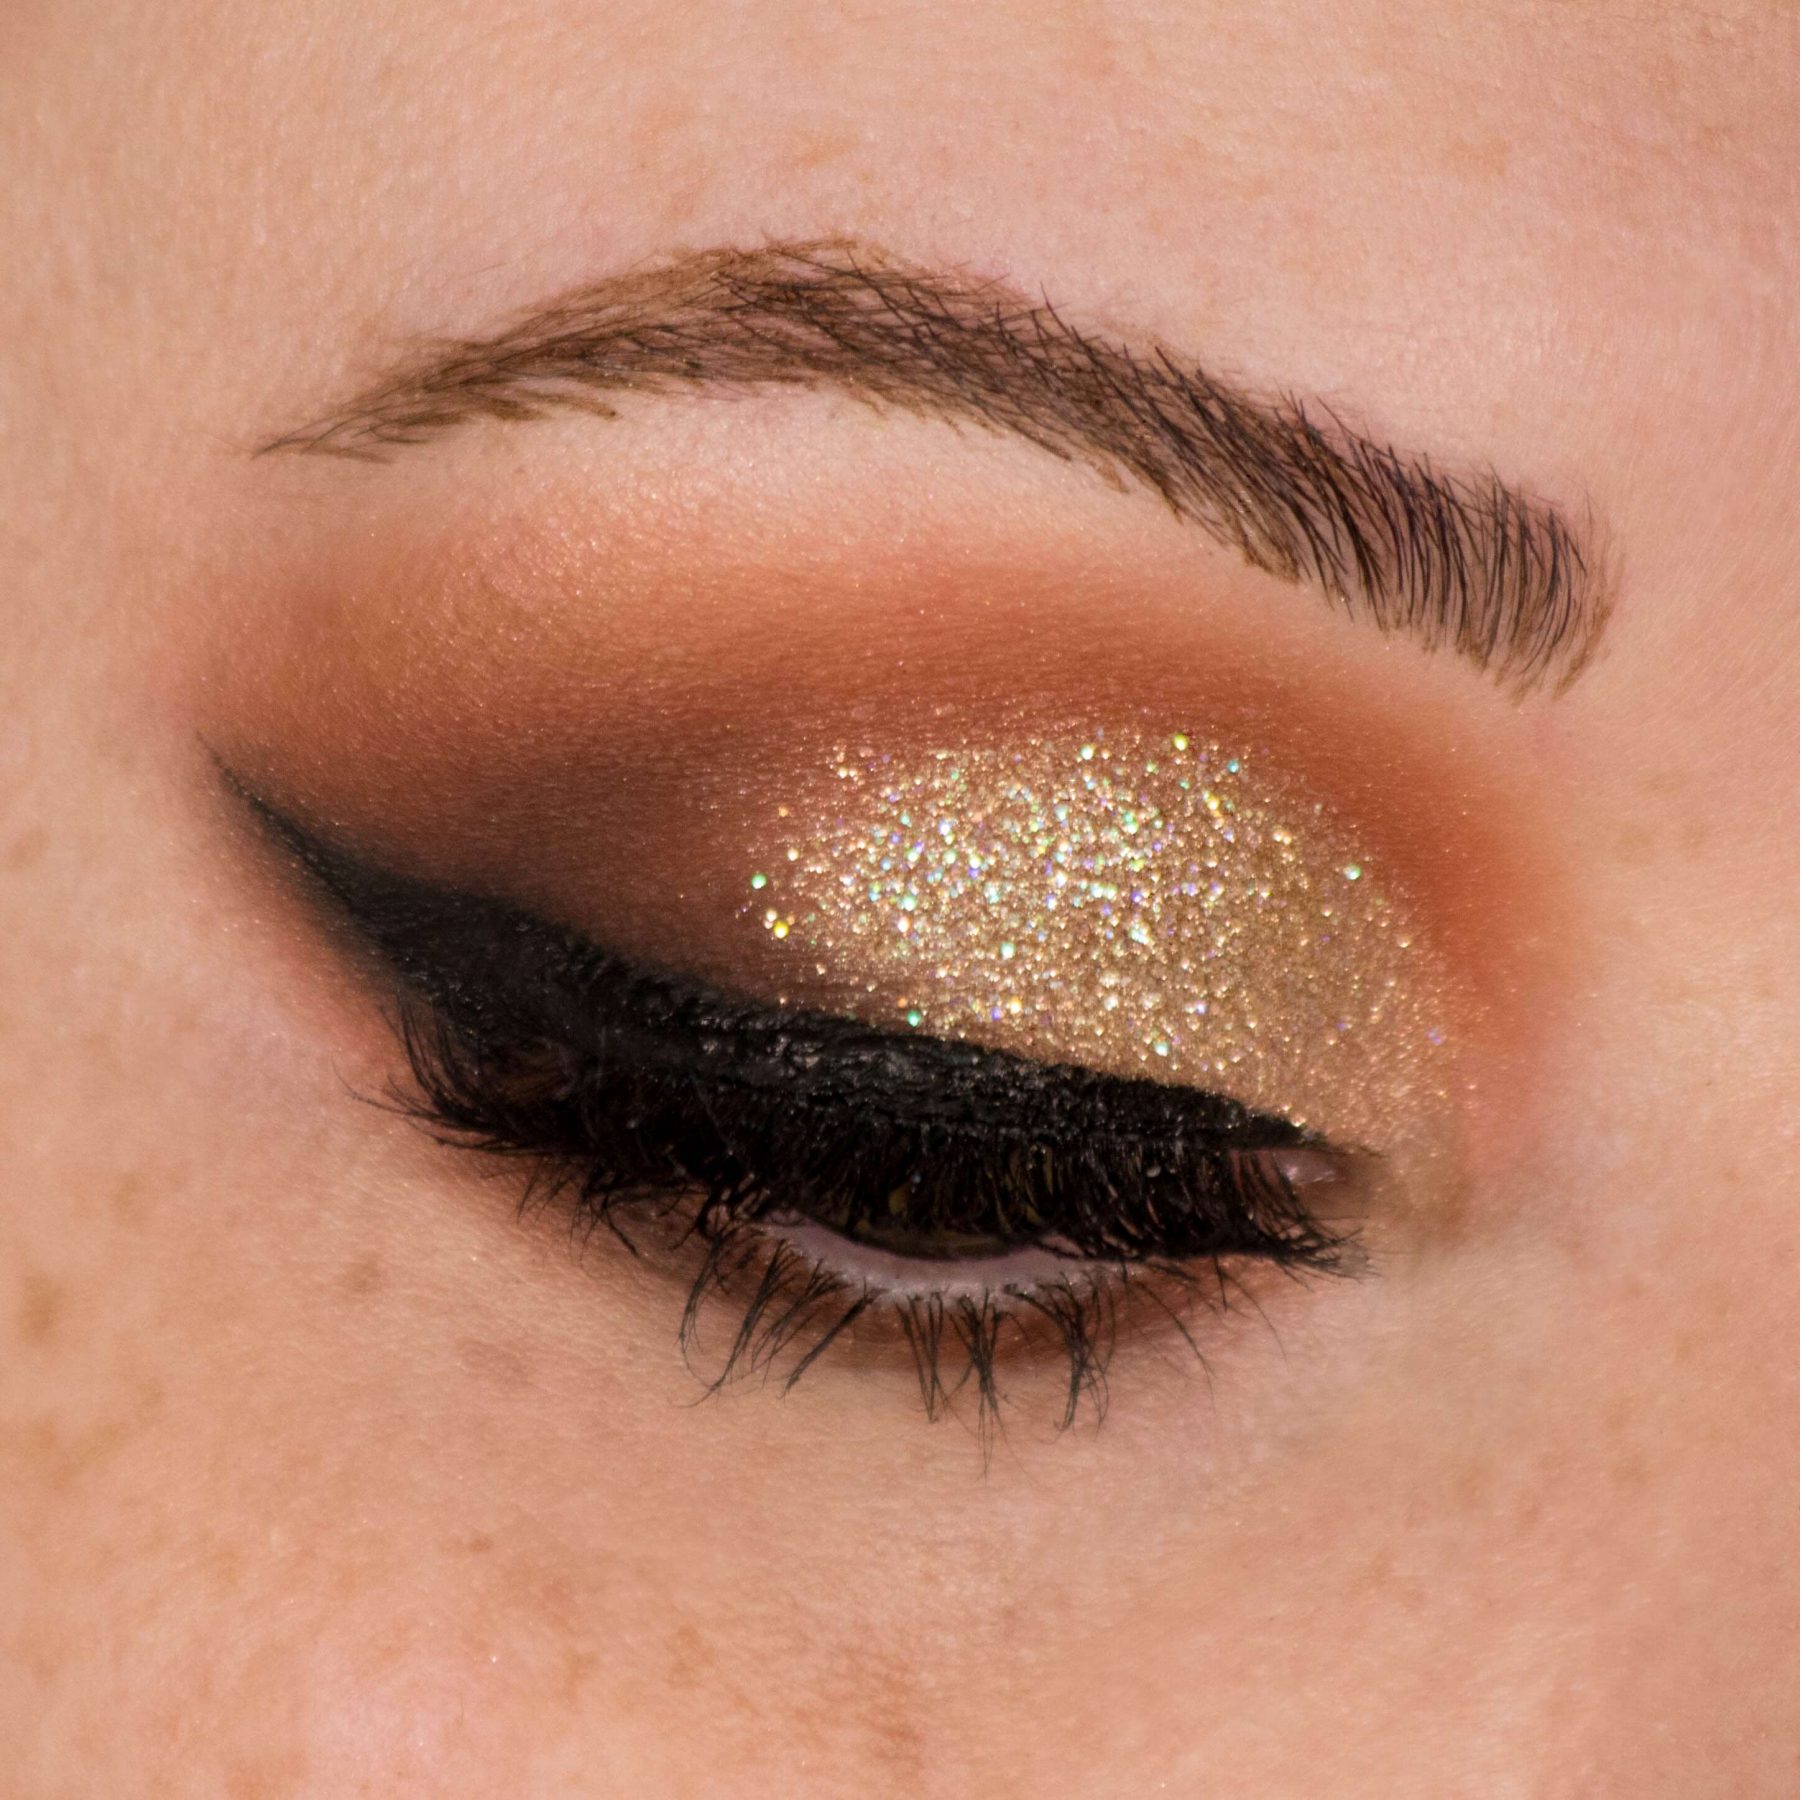
Using a flat brush first dip into the glitter base, and then into your chosen glitter (I used Lit Cosmetics Champagne Wishes Size 2 and their Clearly Liquid Glitter Base).
Keeping the lid flat, lightly tap the glitter across the lid evenly until you achieve your desired coverage.
*Be sure to allow the product to dry before continuing on so it doesn’t crease.
Step 3
Finish with liner and lashes and remove excess glitter with a little scotch tape! This look is always a stunning and a favorite of my glam-brides.
