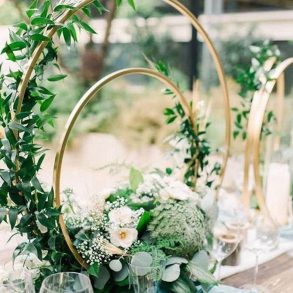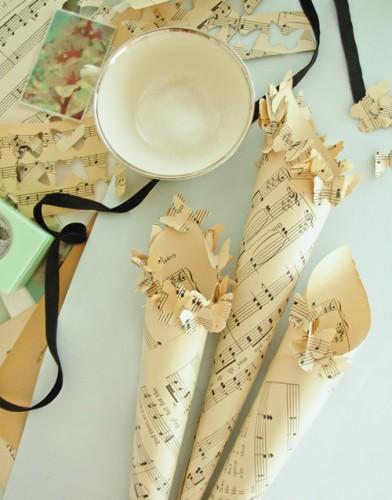

I am so happy to have Livy from the lovely blog, A Field Journal, back again today sharing another one of her beautiful tutorials. I’ve been seeing quite a few elements of aged paper in everything weddings recently and have to admit I’m liking what I’m seeing. Chelsea used pages from a vintage poetry book as a stunning background for this amazing bridal shoot recently and I adore Livy’s interpretation of paper cones below using old sheet music.


Materials:
1. Paper punch While cutting shapes freehand is an alternative if you’re only planning to make a small number of cones, making them in larger quantities is much simplified by the use of a paper punch. The one shown is from the Martha Stewart Crafts line. For a variation you might consider alternate shapes – like leaves, flowers, etc.
2. Vintage sheet music Old papers with music or text lend a true vintage feel to this craft – they can be found at flea markets, thrift stores, yard sales or etsy.com.
3. Tacky Glue (for adhering butterflies) I used Aleene’s Tacky glue; sturdy and fast drying enough to keep the butterflies “perched” on a narrow fold for the three dimensional look. Keep in mind this glue is not acid free – so if you are planning to keep your craft for a long period of time that is something to consider.
4. Glitter
5. Scissors
6. Clothespin (helpful, but optional)
7. White Glue (for adhering glitter – I usually find it’s better to work with a thinner glue) ![]()


Directions:
1. Roll one sheet of paper into a cone shape, gradually working with it to get it to taper off to a point. Glue with a thin layer of tacky glue, using a clothespin to hold in place until dry.
2. If necessary, trim excess paper from cone and save scraps.
3. Punch or cut butterfly shapes from scrap paper and glue around rim of paper cone, overlapping for interest. To create three dimensional look, fold butterfly in half, apply a thin bead of glue along edge and hold in place for a few seconds until the glue begins to set.
4. When completely dry, thinly apply white glue to desired areas and dust with glitter. Let dry and enjoy!