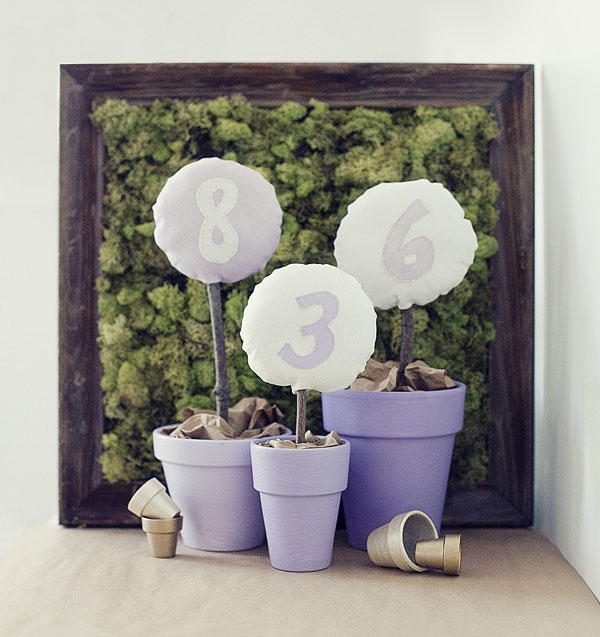
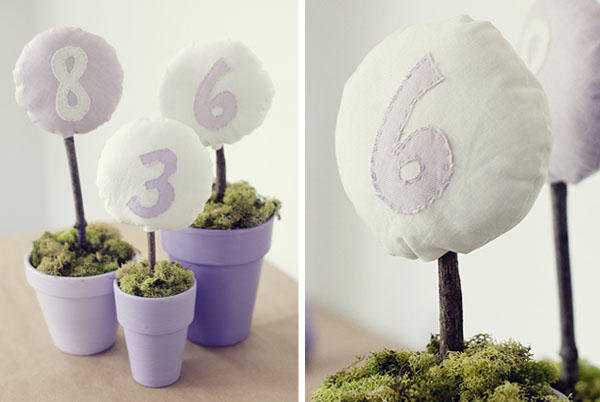
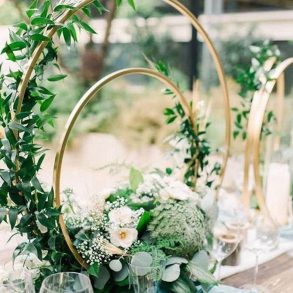
Add a custom handmade element to your wedding by creating these fabric table numbers. With common earthy elements and some stitching, including them in a table centerpiece can introduce a little personality and fun to any party. Customize the pots by painting them to coordinate with your own wedding colors. Click “more” below to check out the rest of this project…
– Ashley of Dolci Odille
Supplies:
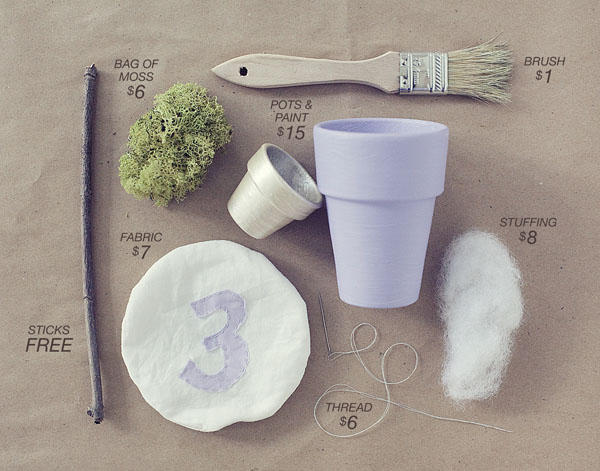
Sticks, moss, hot glue gun, fabric, pots, paint, sewing machine (if you have
one), needle & thread, paintbrush, kraft paper and stuffing.
1. Start by printing out the template on an 8.5 x 11 sheet of paper, which
contains patterns for the circle and numbers.
2. Cut out the circle and number you wish to make from the printed sheet of
paper.
3. Cut two separate circles out of fabric. Then, cut a number out of the
fabric.
4. Next, take the number and hand-stitch it onto the center of one of the
fabric circles.
5. Once that is finished, take both of the circles (with the number facing
inward) and sewn them together near the edge leaving an inch open at the
bottom.
6. Turn the circle inside out and fill with stuffing.
7. Put the stick in the center of your painted pot, then pack kraft paper
around the stick to keep it firmly in position.
8. With a hot glue gun, attach moss to cover the kraft paper. You can also
leave the kraft paper exposed for a different look.
9. Finally, insert the stuffed fabric circle onto the stick.
Project created by Dolci Odille

