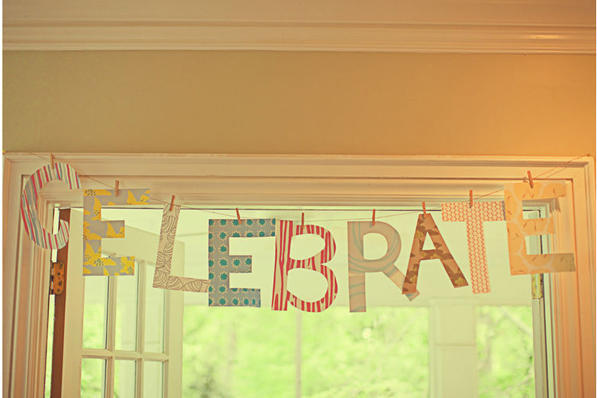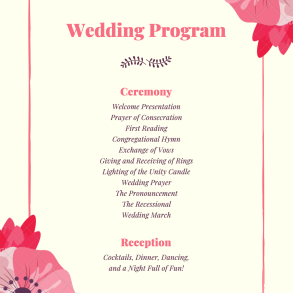
Lauren’s friend, Kate, made the adorable banner above, and was kind enough to send over a little how to for any one else looking to do same thing for their wedding or any other type of event. Thanks, Kate!
Supplies:
– printed paper, card stock or thicker (Mix and match, the more unusual the
paper…the better!)
– letter templates (optional)
– scissors
– pencil with eraser
– mini clothespins
– jute twine

Step 1: Making your templates
Print out the letters needed for your sign (this is purely if you need help with the shape of the letter!). If you are confident in your own handwriting, draw your own letters, as this makes the sign more unique to you! You will need to cut out the letter
templates to trace as well.
Step 2: Make your letters
On the printed paper, trace the letter templates you have made or draw your ownletters. Mix and match the patterned paper and lettering, and you can also combine upper and lower case lettering! Cut out each letter and erase any left over pencil
markings.
Step 3: Hanging your sign
Hang the string, you can tie it on to a pre-existing feature, or you can push two small pins into the wall. Clip the letters to the twine with the mini clothespins and you’re finished!


