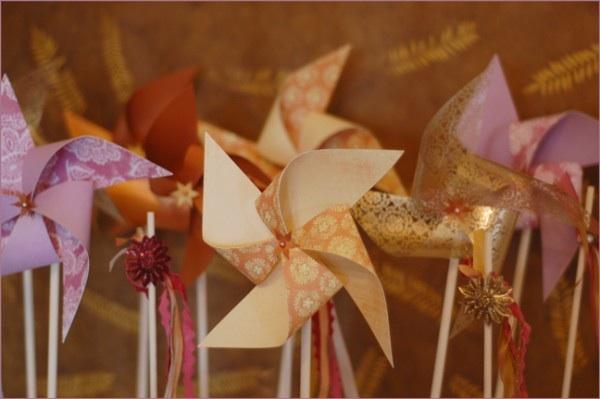
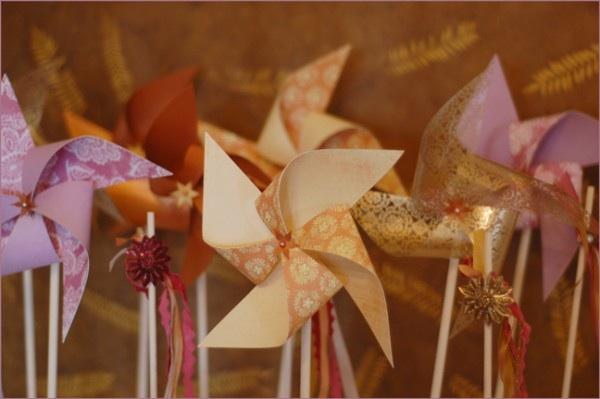
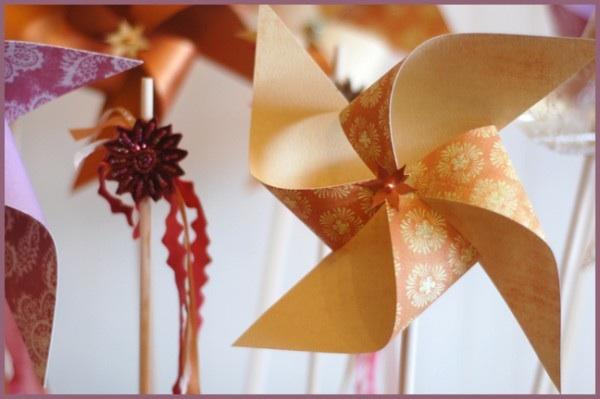
![]() Looking to incorporate something a little different for your own wedding? Why not have your guests cheer you on while waving ribbons wands and pinwheels as you both depart in your get-away car(in lieu of confetti or rice)? Laurie’s simple and inexpensive DIY project this week shows us how to create a whole set of beautiful ribbon wands and pinwheels that would complement a whimsical wedding perfectly.
Looking to incorporate something a little different for your own wedding? Why not have your guests cheer you on while waving ribbons wands and pinwheels as you both depart in your get-away car(in lieu of confetti or rice)? Laurie’s simple and inexpensive DIY project this week shows us how to create a whole set of beautiful ribbon wands and pinwheels that would complement a whimsical wedding perfectly.
What You’ll Need (for the pinwheels)
Pinwheel Instructions
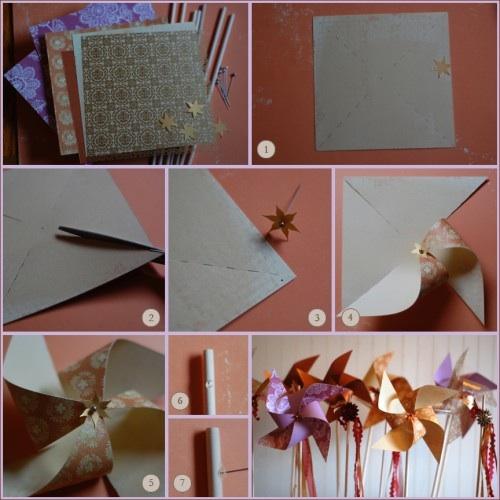
1. Begin by measuring and cutting several 6″ inch squares out of your paper.
2. Find the center of your one of the squares and mark it by poking a hole through it with your pushpin. (see figure 1)
3. Lay your paper pattern side down, and use your ruler to draw diagonal lines from each corner to make an “X”. (see figure 1)
4. Cut along the diagonal lines, from all four corners, stopping one inch before you meet the hole in the center of your paper. (see figure 2)
5. Use your pushpin to make a hole in the right hand corner of each side of the square, just to the left of the line you just cut. (see figure 3)
6. Use your punch to cut out a paper flower. Stick your round-headed pin through the center of the flower. (see figure 3)
7. One by one, bring each of the four pin-holed corners to the center and stick the flower and pin through each of the four holes. (see figure 4 and 5)
8. Next, put the pin through the hole in the center of the square and set aside.
9. Make a pilot hole, using your pushpin, 1/2 inch down from the end of the dowel.
10. Put a drop of hot glue on the hole, and quickly insert the pin that runs through the pinwheel center into the glue and dowel. (see figure 6 and 7) Be careful not to let the pinwheel paper touch the glue on the dowel while it’s drying. If it sticks, it can’t spin.
11. Arrange your completed pinwheels in a vase or container like flower stems.

