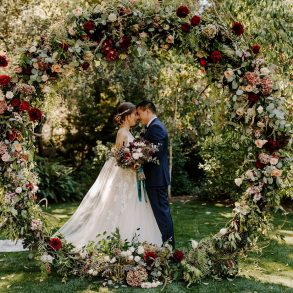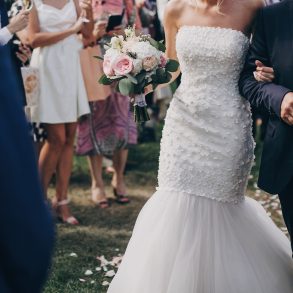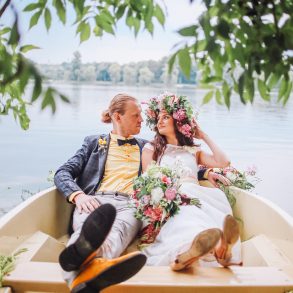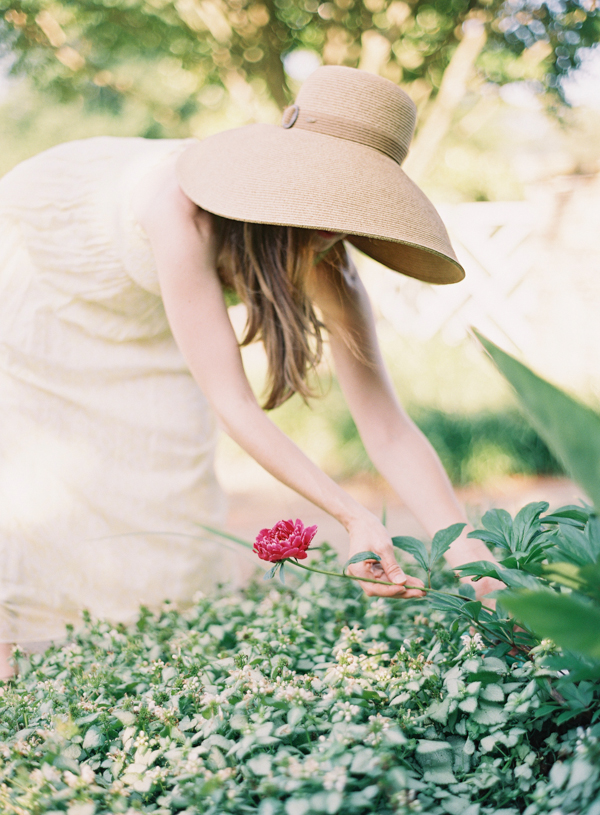
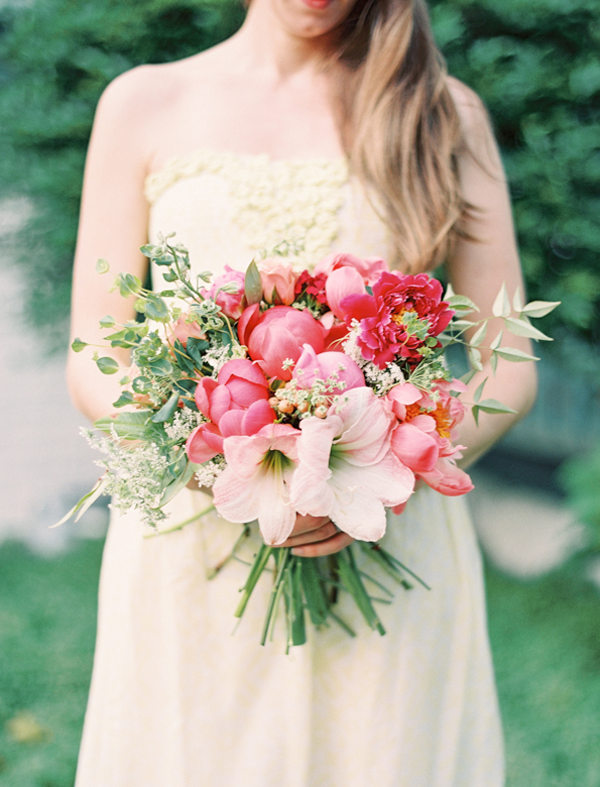
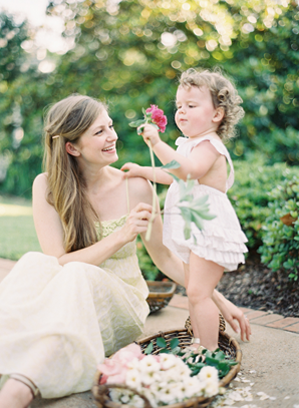
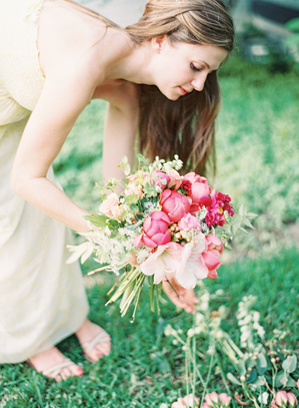
There’s something about flowers straight out of the garden that adds such a loose and natural element to bouquets. When possible, I try to pull a few local elements as they always lend a softer feel to an arrangement. In this tutorial, you’ll see how we take some blooms ordered from a wholesaler -namely, coral charm peonies (at their peak in May and June), bupleurum, and a few peach hypericum berries- and pair them with local blooms and greenery for a garden-swept, natural bouquet.
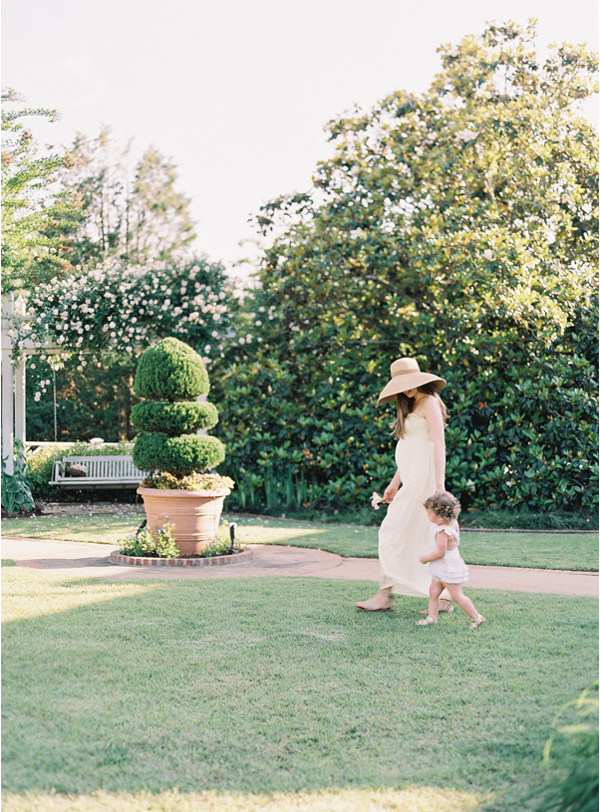
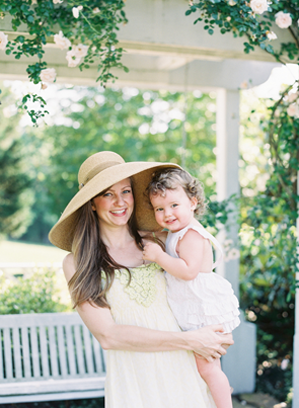
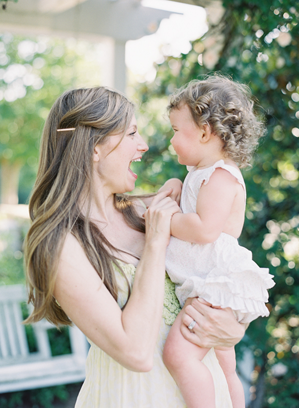
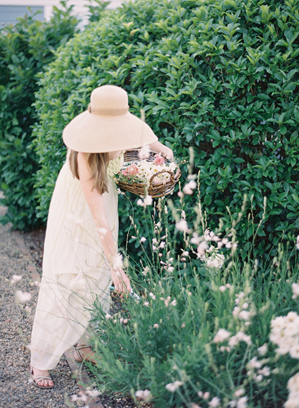
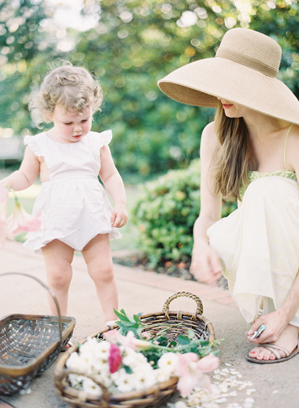
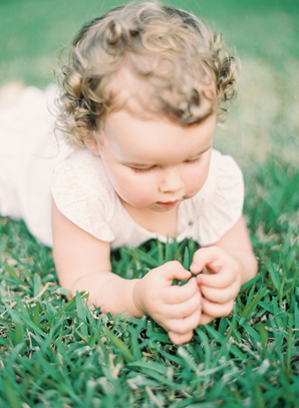
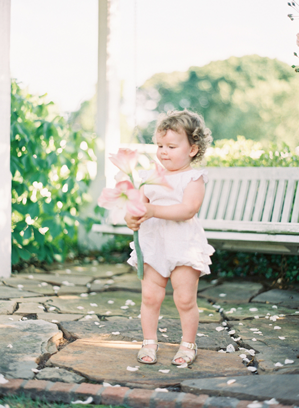
To achieve this look on your own, you can take even your most basic grocery store flowers (I look for peonies, stock, lisianthus, or spray roses) and pair them with clippings from nearby. Spring and summer are some of the most beautiful months for seasonal flowers, no matter where you’re located. Raid your backyard, the backyards of your friends, and watch for pretty things growing wild on the roadside (I always recommend keeping a pair of flower clippers and a bucket in your car for wildflower finds). Flower gathering is always more fun with a companion, and for me, my little daughter, Florence, always wants to come along.
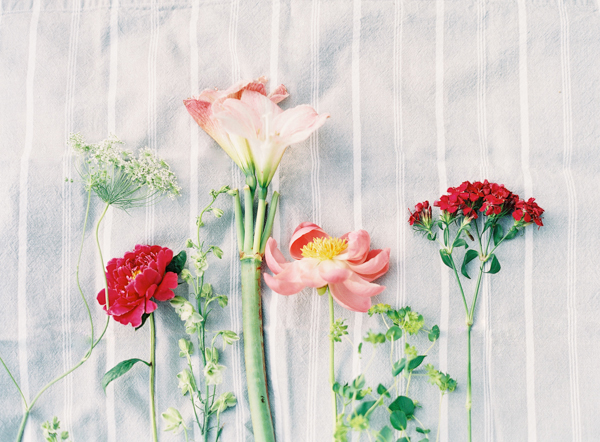
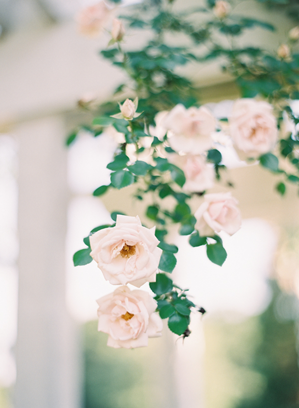
For the bouquet in this tutorial, I won’t lie, I paid my mother’s amazing South Carolina garden a visit. She grows the most gorgeous peachy-blush amaryllis, which completely make this bouquet! It’s such a treasure hunt foraging for local product as you never know what you’ll find. On the day of this shoot, we found climbing roses, magenta peonies, dianthus, guara, mint and queen anne’s lace (which is a great one to look for on the side of the road by the way!)
Now steps to put together your hand-tied garden bouquet:
1) Once you’ve done all your flower picking, prepare each stem by taking off all of the leaves, buds, and foliage that is below the top 5-6 inches and lay all of your stems out on a picnic blanket or on your kitchen table. If you skip this step, you’ll find that the leaves, etc. that are too low will only get in the way.
2) I recommend first starting with a few stems of greenery so you’ll have something in your hand to weave in between your flowers. When creating a hand-tied bouquet, try to criss-cross your stems in at an angle. This holds the bouquet together and keeps the blooms from being too close together at the end.
3) Next, add your biggest, showiest blooms (like amaryllis & peonies). I generally like my garden bouquets to have a definite front (logically the side that is facing me when I hold out the bouquet in my hand) and I make sure to place my prettiest blossoms where they will be most noticed.
4) Then, add in your flowers that are more of the supporting roles (like queen anne’s lace, hypericum berries, gaura, and dianthus). This gives some depth and textural interest to your garden bouquet.
5) Finally, frame your bouquet with some loose, draping greenery (like jasmine vine, ferns, or really any other type of foliage you can find around your yard…don’t worry if you don’t know what it’s called!)
6) Wrap with floral tape and finish with some pretty ribbon!
By the way, if you want to try your hand at growing some specific flower clippings, check with your local garden center for the recommendations for your area, but my favorites are amaryllis, foxglove, snapdragons, peonies (oh how I wish these guys would get huge down south, but it is too darn hot!), lavender, queen anne’s lace, jasmine, and hydrangeas.
Photography: Jordan Thompson of Landon Jacob / Flowers/model: Sarah Swinson Shell of Fern Studio | Styling: Jessica Parks Rourke of Parkside Wedding Studio


