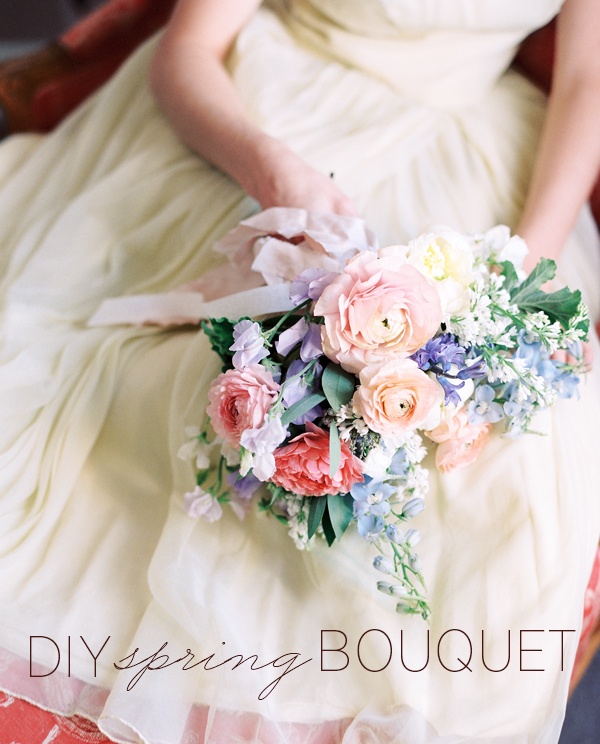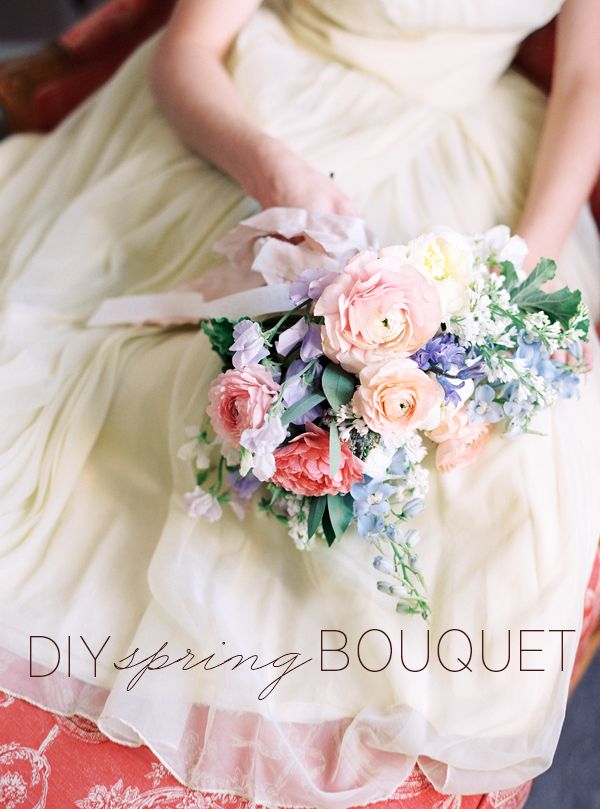
SPRING! The time of year when almost every flower is in season- it’s the time of the year florists dream about! We are just crazy for spring, and this spring has been especially welcome after the extreme brutality of this past winter. We’ve been ready to welcome this beautiful time of year with open arms since the first signs of winter in November. The bounty of spring inspired Ashley Beyer and D’Arcy Benincosa to create a lovely little DIY Spring Bouquet tutorial. You can use this tutorial for your own wedding, or just create a lovely bouquet for any sort of celebration- maybe even Mother’s day (May 11th- don’t forget)!

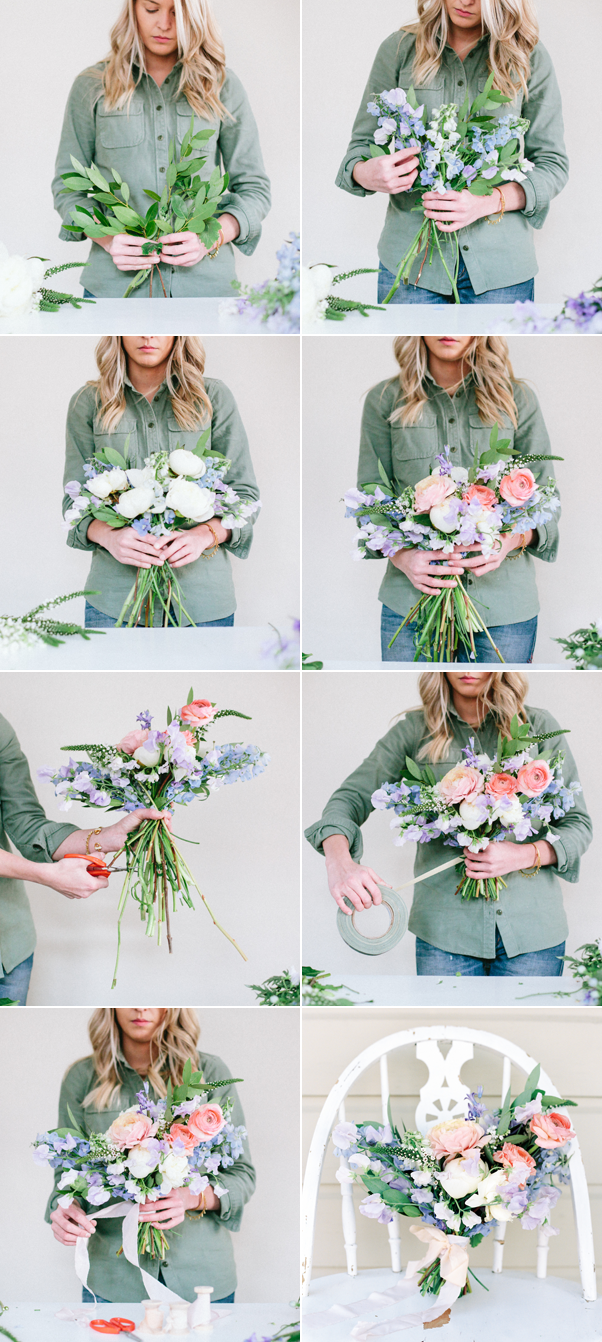
Step 1: Start the base structure of your bouquet with greens, I used bay leaf. Also begin building the shape keeping asymmetry in mind with tall wispy blooms such as delphinium. Keep one side a bit taller than the other.
Step 2: Add your focal blooms, the amount you use is totally up to you and the look of the bouquet you’d like. This bouquet is a bit petite so I used five medium sized white duchess peonies. When placing focal blooms, keep the bouquet balanced in weight and shape but keep that asymmetrical shape going with each step to prevent the bouquet from looking too tight or too perfect.
Step 3: Add your accent flowers. I love ranunculus, I don’t think I’ve ever placed an order without ordering some when it’s available. The soft layers of petals really gives a beautiful garden look to bouquets that I can’t get enough of. Use those accent blooms to add height and movement throughout the bouquet. I also used sweet pea, lysimachia, and a few more sprigs of delphinium.
Step 4: Trim your stems evenly. I like to keep my stems fairly short, but you can leave yours as long as you’d like!
Photography: D’Arcy Benincosa | Floral Design: Tinge Floral | Graphic: Hannah Lee


